Thursday, 13 October 2011

Christmas Gifts - Part 2

Details of my Celebration Giveaway can be found here.  Giveaway closes Monday 17th October.

Ok, here is my 2nd project for my Christmas Gifts classes to make:


You've seen me make some of these tissue pouches before.  Once you get the hang of the pattern, they are so quick and easy to make, and a great way to recycle smaller pieces of fabric. 


There is no wadding in these, and you can decorate them how you like.


I like to fill mine with novelty packets of tissues, but I'm finding them hard to come by these days!  I will have to take a trip to a few garden centres to see if I can pick up some funny ones!


These are also the perfect size for storing mobile phones.

I hope to soon have a Christmas Gifts Part 3, when I get more things made, so watch this space!


Have a great day!


Judith xo

Wednesday, 12 October 2011

Christmas Gifts - Part 1

Details of my Celebration Giveaway can be found here.  Giveaway closes Monday 17th October.

There's something about Christmas time that brings out the excited inner child in us all.  

For me, I love the smells of Christmas, spicy cinnamon & orange candles, fresh pines from the tree, home baked mince pies and shortbread. Mmmmm!

So it's time for me to get ready for my Christmas classes! Folks who come along to class have already been asking me with excited anticipation 'what will we be making?'.

I have scheduled in 3 weeks this year for making Christmas Gifts.  These will be small items that are quick to make and can be varied and adapted to suit the intended recipient.  

I like to give my class a choice of what they can make, so this week I'll share with you some of the ideas I'll be teaching.

First up, a different kind of mugrug:


Last year I came across this tutorial on Sew Mama Sew for the Hostess Box.  I asked permission from the designer Jennifer Casa & Sew Mama Sew to adapt the pattern and teach it in class.  Permission was v.kindly granted and so I got to work downsizing the pattern to come up with this mini hostess box.


The box is held in place with velcro, but these wee boxes could easily be makes in themselves, filled with yummy sweets (I particularly like fudge!) and given to teachers as end of term pressies.


And the mugrug could be any design you like.  

I think kids would love these too filled with their favourite sweeties! Jxo

So there you have it!  My Christmas Gifts part 1.  Tune in tomorrow for part 2!
Have a great Wednesday!

Judith xo

Monday, 10 October 2011

Giveaway Celebration!

Hello peeps!

I haven't been blogging for a few days because I had a lovely friend from England over to stay the weekend.

And guess what happened last week when I wasn't looking?  

I passed the 100 followers milestone!  Yippee!  Thanks everyone for hanging in there with me through the moans, groans, successes and disasters!

To celebrate I've teamed up with the lovely Julia from Gone to Earth to offer my wonderful peeps some yummy goodies. 

Gone To Earth offers all the latest designer fabrics, as well as yarn, sewing & knitting patterns, tutorials and more!  Well worth a visit.

So take a look at what you might get:

View the full collection here.
And .....
View the full collection here.
So, to be in with a chance of winning BOTH of these charm packs here's what you need to do:

1. Pop on over to Gone To Earth and subscribe to their newsletter.  Then come back here and tell me you did.

That's it - painless, wasn't it?

I purposely don't ask folks to become followers just to enter a giveaway, but if you are genuinely interested in my blog, then I'd love to have you listed as a follower and I always try to revisit the blogs of my followers.

I will choose the winner on Monday 17th October with the help of Mr Random Number Generator.  Please check if you are a 'no reply comment blogger' on your blog settings as I won't be able to reply to you.

Best of luck everyone!

Thursday, 6 October 2011

Headless Chicken-itis!

You know what I meant, right?

Always in a rush, so much to do you don't have time to pick your nose! (euuuuh!)

Anyway, the mornings when I'm not teaching is precious sewing time.  I only teach 2 mornings a week, but you can guarantee they're the days the postman arrives with parcels, and instead leaves delightful red cards!

That was yesterday. 2 red cards.

So this morning I had to pick up some fabric, then go to 2 different postal depots to get parcels (one being my daughter's long awaited new mobile phone).  And it wouldn't do for these 3 places to be in close proximity to each other - oh no.

Well I got one of the parcels (see below), drove through the howling wind and rain to the other depot (which was in the back end of beyond), only to be told the delivery guy had it in his van and was delivering it now, while I'm standing in the warehouse!  'NO ONE IS AT HOME' I wanted to scream!  I had specifically rang the depot yesterday and asked them NOT to redeliver it but that I would come pick it up.  

So I hared off in the car, picked up the fabric, broke a few speed limits and got home in time to graciously receive the parcel with a smile on my face and a knife behind my back!  Only joking!  It was a chain-saw!

I did eventually get to my lovely Pfaff today, but first let me show you what was in one of the packages.

Elephants & cupcakes - what could be better!
One of my lovely Flickr friends and fellow Brit Bee member, Terri, made some gorgeous wonky stars for Bee Blessed. Thanks so much Terri for these, they will most certainly be a wonderful addition to a cot quilt top and a blessing to a little one when the quilt is passed on.

Terri also sent me some gorgeous crochet trim from a table cloth, which I am saving for a special project.  Watch this space!

I'm getting ready to bring stock down to my sister's salon next week (check out her fab website), for the start of my handbag sale.  I'm at that place when I think 'why did I ever think this was a good idea'!

Here's another boxy bag I managed to get finished:


And some cosmetics pouches (am hoping to get more of these done!).


Finally, a sneaky peak at a wee something for someone!


I'm off now to make tea and get ready for class tonight.
My friend is coming to stay for the weekend, so I might not be blogging much.

Hope you all have a creative and productive one!

Wednesday, 5 October 2011

Bee Blessed - the next block!

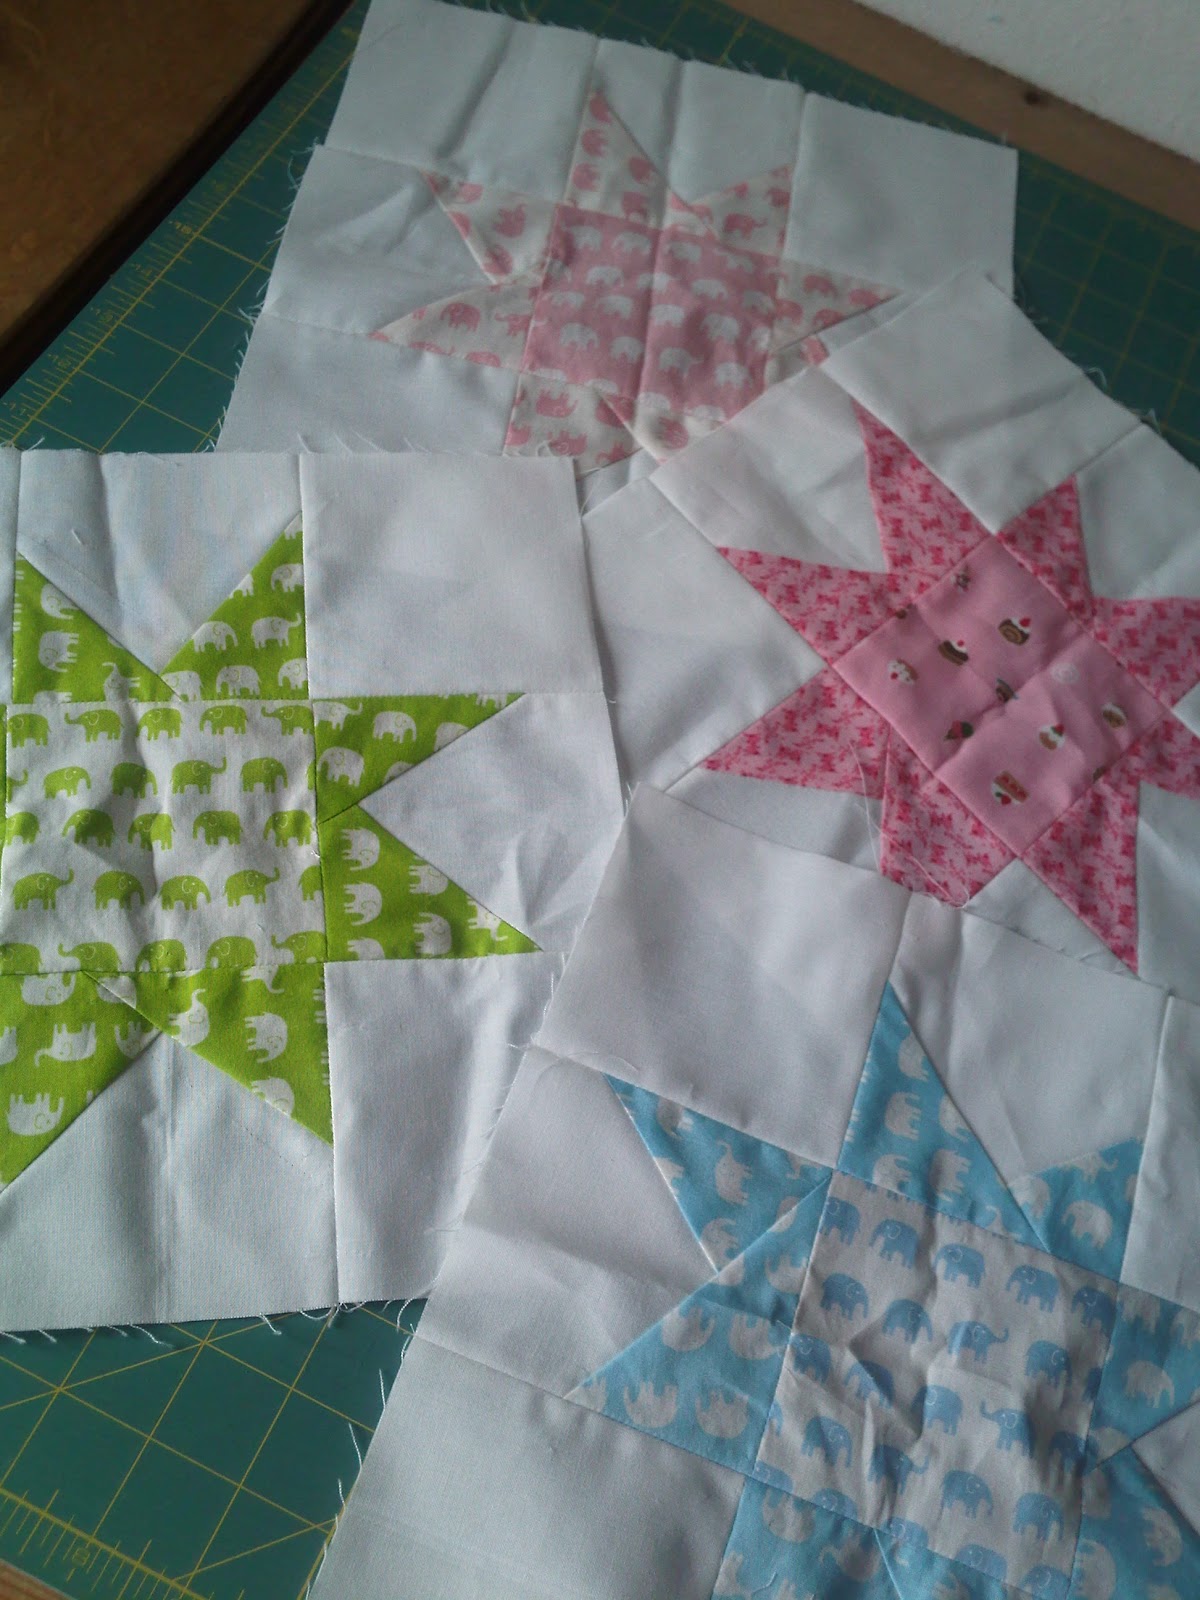
Thank you so much to everyone who made wonky stars for our first Bee Blessed project.

So far we have received over 60 blocks, from 5 different countires, and have made 3 cot quilt tops so far, which we are in the process of quilting and binding.  We have a few blocks left over and know that a few more are still to come in, so we may even have a 4th quilt top!  How fab is that?

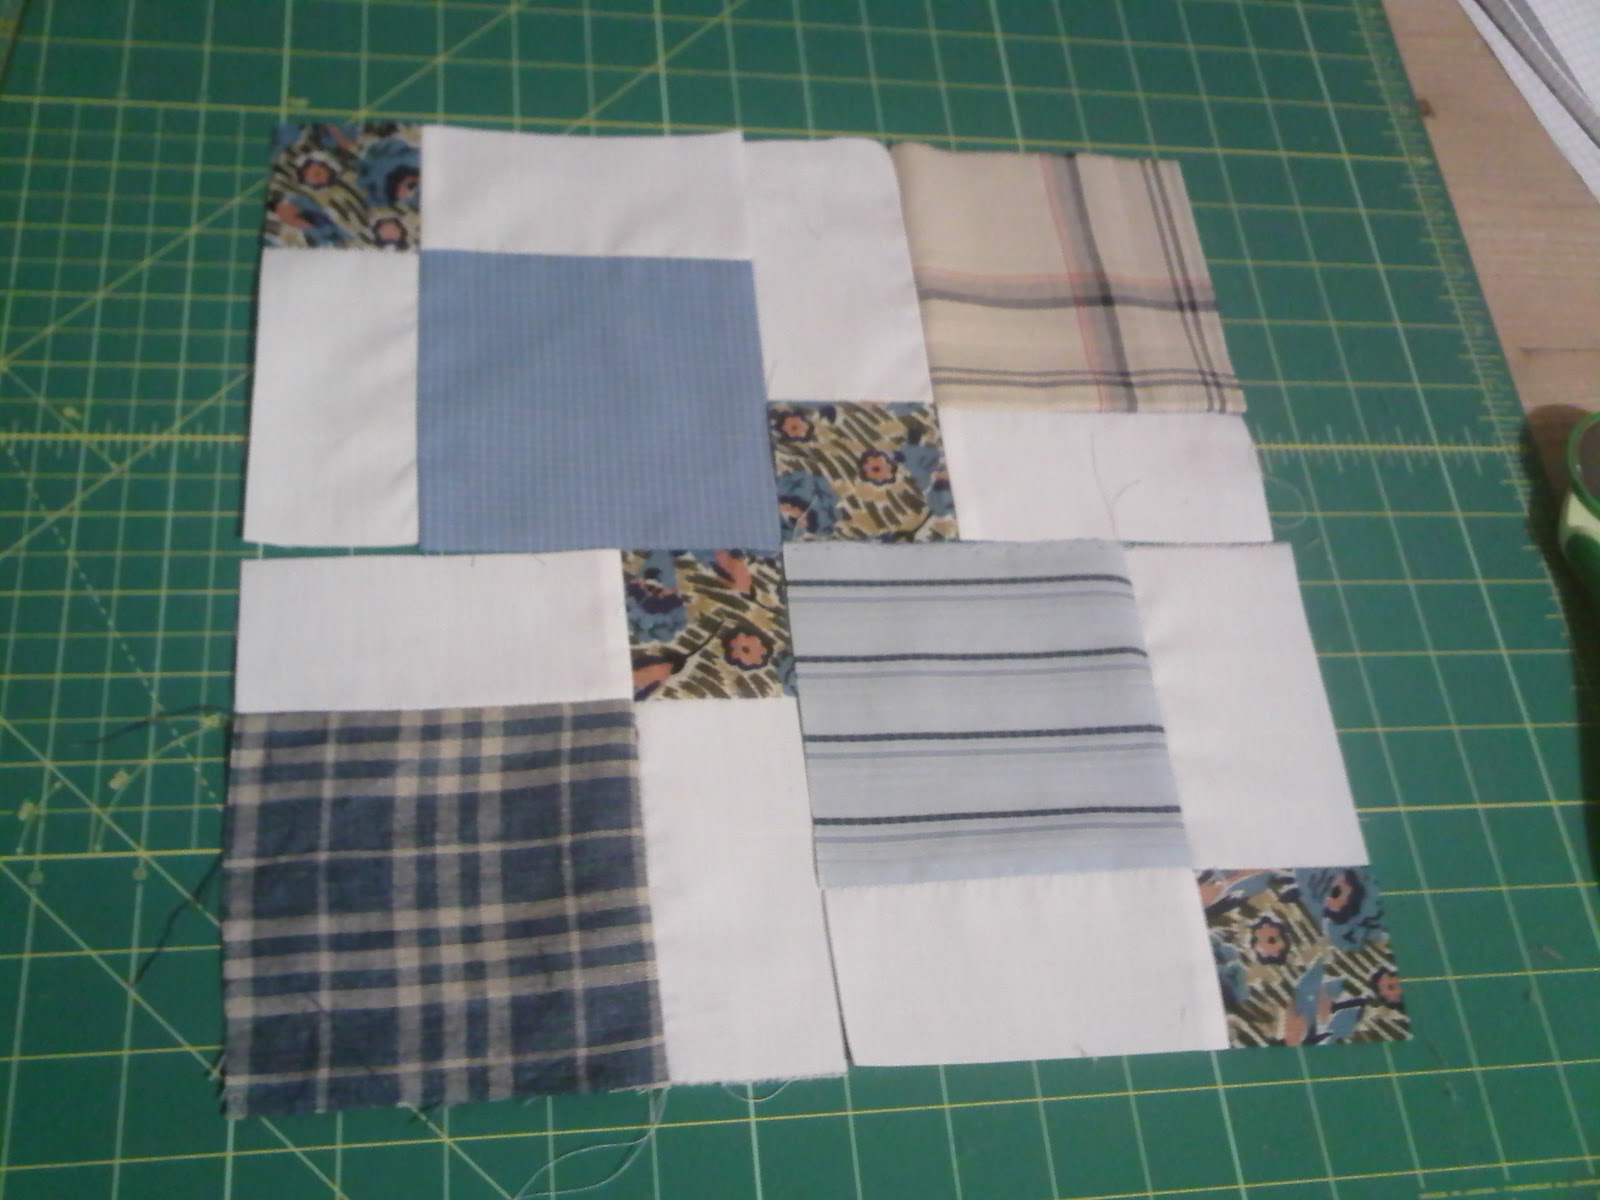
For our next project we will be making disappearing 9 patch blocks. 


This will probably be either for an adult or a family.  We aren't setting a colour code this time around, we only ask that the 4 'sliced' squares be plain white (no white on white) as shown in the tutorial below.

As always the unfinished block should be squared to 12.5".

D9P Tutorial:  Assume scant 1/4" seams throughout

1. Cut 4 x 4.75" plain white squares and 5 x 4.75" coloured squares.
2. Lay these out in rows of 3 to get a simple 9 patch (the centre coloured square will end up as the 4 mini squares).


3. Sew  the squares together in rows.
4. Take the rows to the ironing board and iron the seams as follows:
    Top row: iron seams OUT away from the white square
    Middle row: iron seams IN towards the centre coloured square
    Bottom row: iron seams OUT away from white square


5. Now lay the top row on top of the middle row, right sides together, and butt the intersecting seams (they should fit snuggly together because the seams are lying in opposite directions).  Pin the intersections.


6. Sew the rows together, and then repeat step 5 for the remaining bottom row.

Take care as you sew over the seams that are underneath and 'hidden'.  Make sure they don't 'flip' as you sew over them.
7. Iron the 2 seams away from the centre.
8. Now take your piece to the cutting mat, find the halfway point and slice in half.


9. Turn the 2 pieces around, find the halfway point and slice in half again.


10. Rotate 2 opposite pieces 180 degrees to separate out the small centre squares.


11.  Sew the top 2 pieces together, and then the bottom 2 pieces.
12.  Take both pieces to the ironing board and iron one joining seam going in one direction and the other joining seam going in the opposite direction.


13. Lay the 2 pieces rights sides together, and butt the centre seams together & pin.


14. Sew the 2 pieces together and iron this last seam OPEN.


15. Trim the block to 12.5" & stand back and admire your work!


Thank you so much in advance of your support for Bee Blessed and taking the time to make a block or two.

Don't forget to post pictures of your blocks in the Flickr group.

If you don't already have my postal address, just drop me a wee email & I'll send it to you.

Have a great Wednesday!

Monday, 3 October 2011

2 Faced in Print

Remember this?


This cushion is called '2 Faced' and I made it to teach at my Oasis class.

Well now it's in here:


September issue of Irish Quilting - there's even a photo of me at the start of the magazine!  Although I'm not really from Co.Tyrone, as printed!!!
One more thing to show you.

A lovely lady from my Oasis class had major surgery a few weeks ago, and won't be able to come to class for a few months.

The others in the class wanted to give her something, so I made this basket and we filled it up with lots of smellies and goodies.


This is an upsized version of Ayumi's mini basket.

She now has the basket in her safe keeping & I'm told she loved it.  

We miss her and wish her a speedy recovery.

Happy Monday one and all!

Sunday, 2 October 2011

A day of Blessings!

Yesterday was definitely a day of blessings!

While I was rushing around like a headless chicken getting ready for our 2nd gathering of Bee Blessed, Mr Postie delivered a sizeable package, all the way from Galway.

As I was opening it I was thinking 'it can't be; it can't be!' and it was!


...my 2nd Small Goodie Swap from none other than super swap Mama Cindy (Fluffy Sheep Quilting)!

Cindy very wisely ditched the colour criteria I had given way back at the sign ups stage, and went with her gut.


She quickly realised we both liked a lot of the same things, so she made these gorgeous items which she loves just as much as I do!


Aren't they adorable?  My eldest daughter was with me when I opened Cindy's parcel and immediately fell in love with this snap closure pouch!  And the mugrug is so clever because it is reversible!  And as if that wasn't goodie enough, I also got this cute brooch in an even cuter wee box, a yummy fq of Amy Butler (not in pic) and a box of tea (Cindy knows I like my caffeine in the form of tea)!

Thank you so much to my new bloggy friend Cindy, for making for me, wrapping them all so beautifully, and organising a super small goodie swap!

If you've never visited Cindy's blog, I'd highly recommend it - she makes the loveliest things and is running a series on 'Start Your Own' on Thursdays, where guest bloggers who've set up their own businesses share ideas and inspiration.  Well worth a look!

Another blog well worth a look is my blogging buddy Susan (Canadian Abroad).  Susan not only writes hilarious posts, she makes gorgeous things and is currently doing a giveaway of 8 Punctuation fqs.  Hop on over for a chuckle and a chance to win.

Finally, a huge blessing came yesterday in the form of our gathering of Bee Blessed.  10 of us squished round Sarah's dining room table to turn all the amazing wonky star blocks that have been donated into cot sized quilt tops.

No.1 Girl Quilt

No.2 Girl quilt

No.1 Boy Quilt

No. 2 Boy Quilt
This last quilt top was kindly donated by Susan, which was quilted yesterday.

If you don't happen to see one of your stars in these quilts, don't worry.  We had a few left over which we are going to keep and either make up into cushions or another small quilt, so absolutely nothing will be wasted.

The team worked liked trojans yesterday - thank you all of you for investing in this project.  Next time we will get these lovelies quilted, bound and washed, ready for handing over to their new homes.  

For those of you keen to get started on another block, I will be posting details soon - watch this space!