Monday 28 March 2016

Table Runner & Mats!

Seapark, Holywood

It was a typical spring day here today!  Sunshine and showers!

Seapark, Holywood

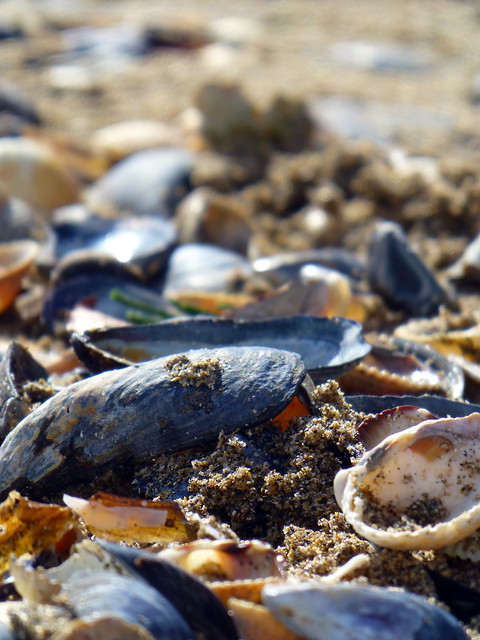
Our walk along the beach was what you would call 'bracing'! But no matter the season, there is always beauty to be found.

Seapark, Holywood

Back in the warmth of the indoors, let's talk table runners!

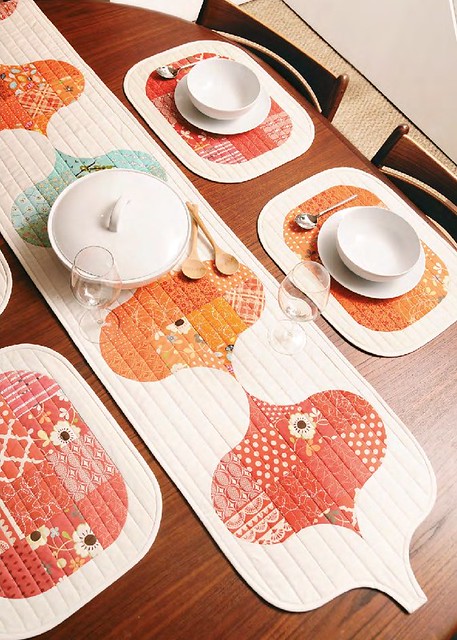
DP Table Runner & Mats (British Patchwork & Quilting, April'16)
Photo courtesy of British Patchwork & Quilting
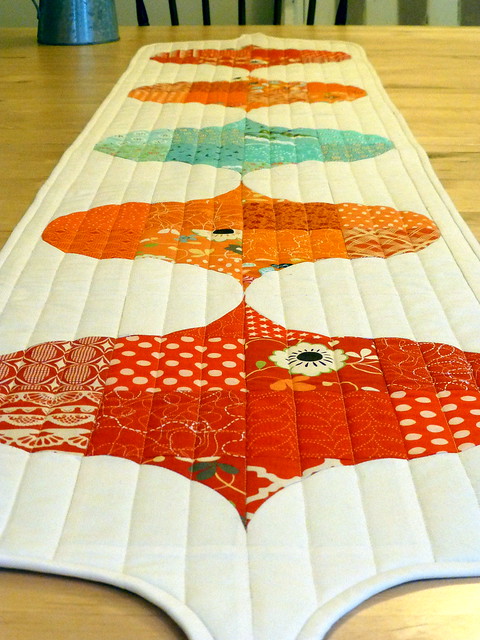
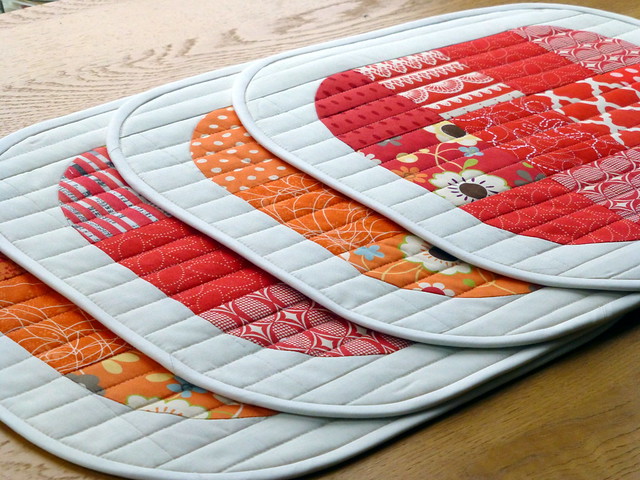
This is my Drunkard's Path Table Runner and Mats set, as featured in the April issue of British Patchwork & Quilting.

DP Table Runner & Placemats - British Patchwork & Quilting (April16)

The inspiration for this design came from the lovely Aylin, who I've had the pleasure of meeting in person (love our blogging community!).  Aylin very kindly gave me permission to develop this design further, following the beautiful cushion she made.

DP Table Runner & Placemats - British Patchwork & Quilting (April16)

I love the many variations the Drunkard's Path units can create.  And the Sizzix DP die makes quick and accurate work of the cutting out!

DP Table Runner & Placemats - British Patchwork & Quilting (April16)


So if you love sewing curves as much as me, pick up a copy of BPQ today!

Keep warm!

Jude xo

Saturday 26 March 2016

Happy Easter!

Here in the UK, the clocks go forward an hour.  That means 1 hour less sleep tonight (boo!).

But it also means 1 hour closer to Easter Day (yay!).

Easter Day is a very important day to me and my faith.  I hope you enjoy your day, how ever you celebrate it.

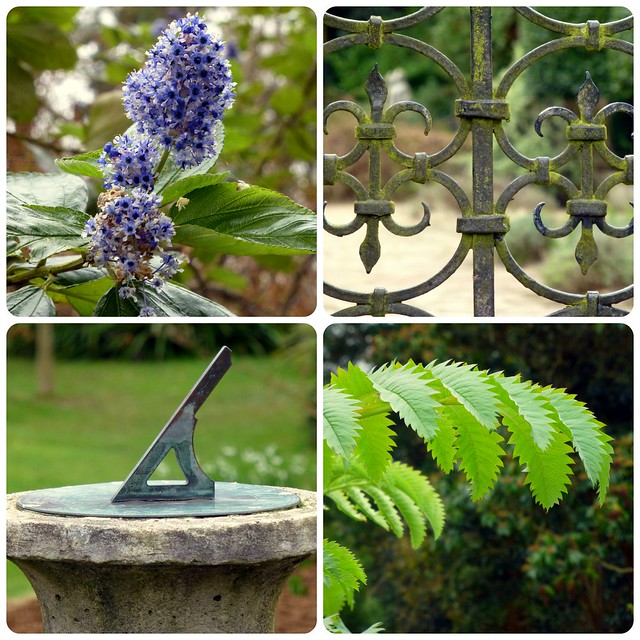
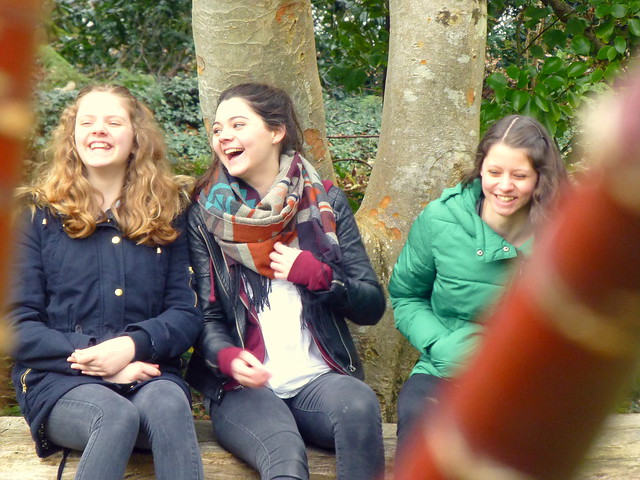
I'll leave you with a few of my favourite pics from our recent visit to Mounstewart, Co. Down.

My Girls


Mountstewart March16

Mountstewart March16


Mountstewart March16


My Girls

Happy Easter!

Jude xo

Wednesday 23 March 2016

Staggered Strips Cushion

Are you a ditch quilter?

Ditch quilting is when you quilt in the seams of your patchwork, so that it won't be seen! This secures all 3 layers (top, wadding, backing).


Traditionally, quilts and other quilted projects were always ditch quilted first, before any decorative quilting was added.

However, as with most things, attitudes and trends have changed. No longer do we have to try to 'stay in the ditch' and hold our breath as we try to get from one end of a seam to the other!  (Imagine how nerve wracking that is for a beginner!).

As long as you quilt sufficiently (manufacturers state the minimum intervals on wadding packaging) so that there is no bagging between layers, then ditch quilting isn't always required.

However, that doesn't mean it can't still be used as a quilting technique in its own right.
Sometimes when you have pretty fabrics and an effective design, decorative quilting isn't required.

Simple Strips Cushion

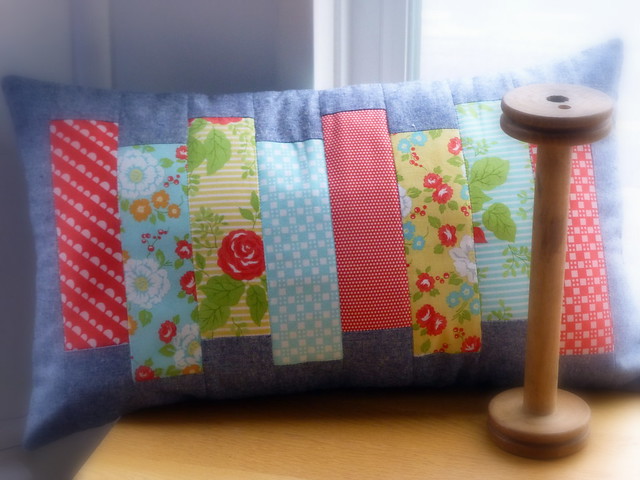
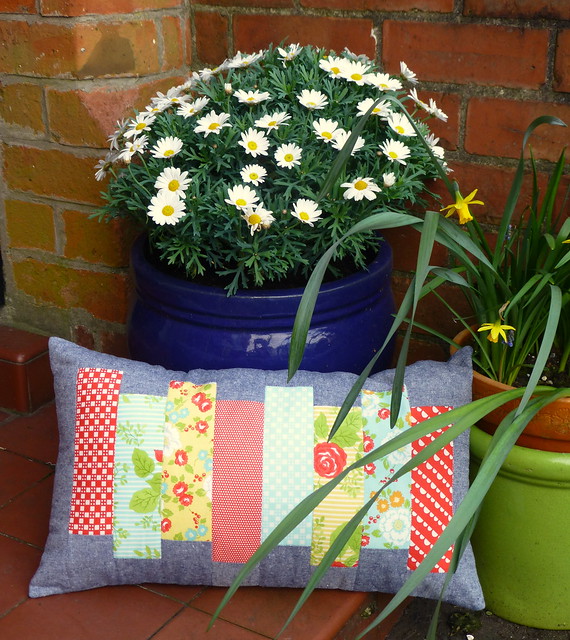
This is my Staggered Strips Cushion.  Hopefully you can tell that it is quilted without seeing the quilting!

Simple Strips Cushion

I have quilted in all the vertical seams using my ditch quilting foot.  If you don't have a ditch foot, use an applique or open foot to maximise your view of the seams and ditches!


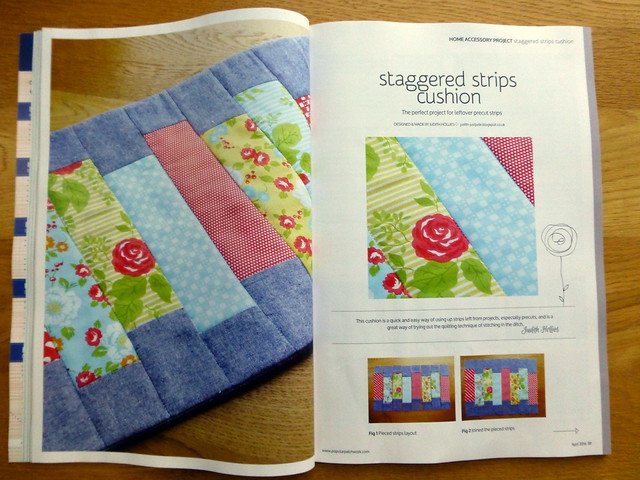
If you would like to learn more about ditch quilting, get my step by step guide in the current issue of Popular Patchwork (pg 34).  You can also get the pattern for my Staggered Strips Cushion.

Staggered Strips Cushion / Popular Patchwork (April)

Happy Ditching!

Jude xo

Tuesday 22 March 2016

Mini Easter Baskets Tutorial (& more)!

It's so lovely having my 'Uni daughter' back home for a wee while.

Fun with Family

We visited one of our all time favourite places (Mountstewart, Co.Down) today, and took some wonderful pics.  But more on that another day!

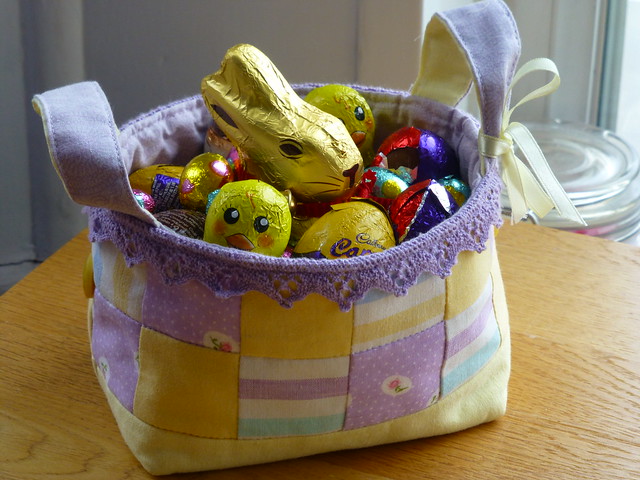
Today's post is all about this wee bundle of goodness:

Easter Basket

Now I can't take credit for this basket pattern, the original tutorial is here. It is quick and easy to make and great for using up tiny scraps.

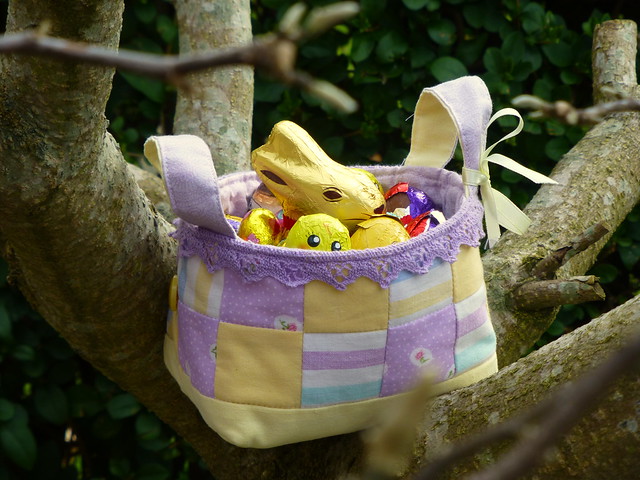
Easter Basket


And if you don't want to work with 2" squares, you could vary the pattern using 6 x 3.5" squares, or no squares at all!


 And here are more free Easter tutorials from Blogland you might enjoy!

Felt Daffodils by Abby Glassenberg (While She Naps)
Applique Easter Basket by Peta (She Quilts A lot)
Fabric Basket and Eggs by Amy Smart (Diary of a Quilter)
Bunny Face Bag by Veronica (Sew Very)
Scrap Fabric Bunny Softie by Kim (Seven Thirty Three)
Fabric Birds by Hobbycraft

And as if that's not enough, there are lot's more tutorials on my Easter Pinterest Board - as well as my previous Easter tutorials. Go check them out!  There's something for everyone!

So that marks the end of my mini Easter series of tutorials.

I hope you have enjoyed them! You still have a few days left before Easter to make them, so don't panic!

Happy Sewing!

Jude xo


Sunday 20 March 2016

The Best Model Ever!

It so hard to get good models these days!  They can be so fickle and demanding!!

But not this one!

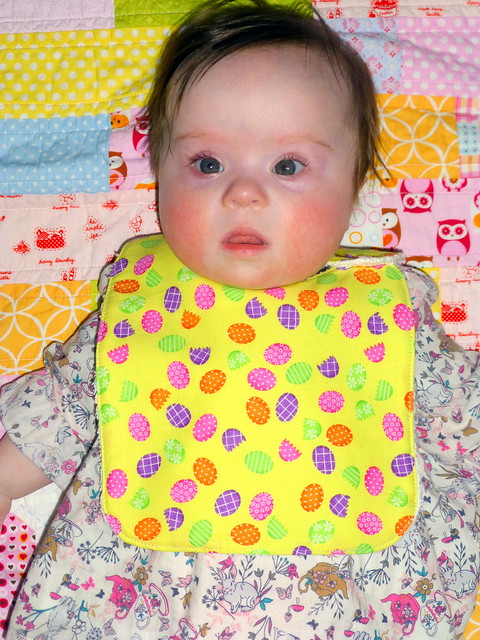
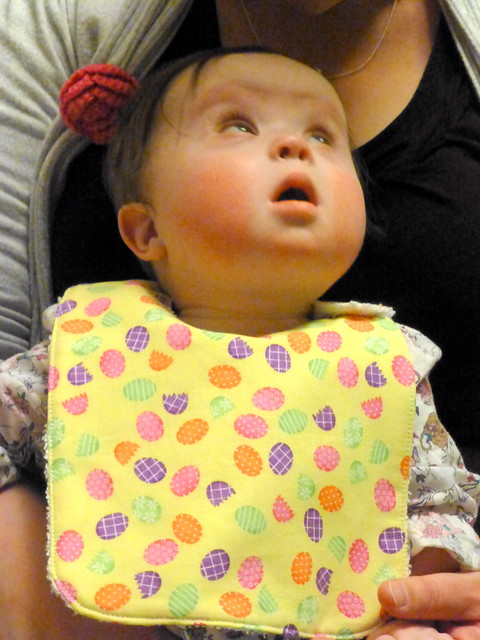
Easter Bib as modelled by Cutesie Tootsie!

How adorable is this wee lady, modelling one of my Easter bibs! 

Easter Bib as modelled by Cutesie Tootsie!

So obliging, especially when it came to cuddles and playtime! I think I'll be hiring her again for sure!

If you would like to make one of these easy peasy bibs, you can get the free tutorial here.

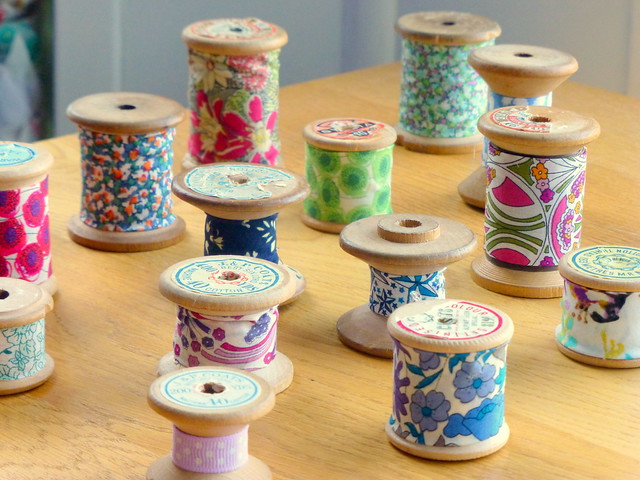
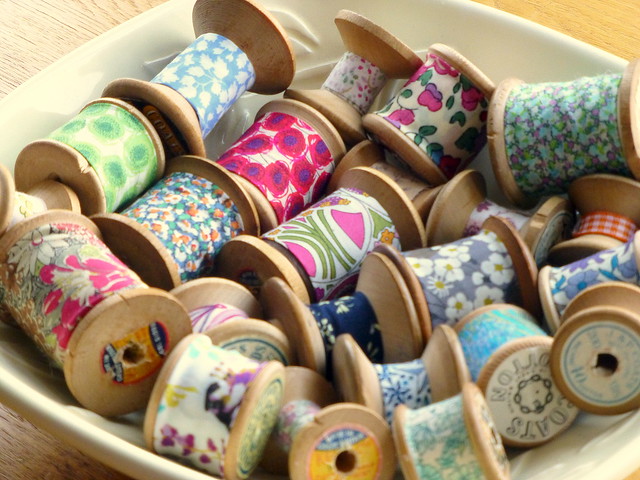
And talking of small and cute, I had a little play with my collection of vintage wooden spools and some Liberty scraps. 

Old Spools clothed in Liberty scraps


Old Spools clothed in Liberty scraps

So nice to finally have these out on display instead of hidden away in a drawer!

Hope you've had a lovely weekend!

(No. 1 daughter comes home tomorrow!  Yippee!)

Jude xo

Friday 18 March 2016

Easter Egg Zippy Pouches Tutorial!

Thank you to everyone who has been following along with my Easter mini series!

You can find previous tutorials here:

Easter Bunny Bags
Easter Baby Bibs
Carrot Cornets

Apologies if you have had trouble downloading the PDF templates.  I have amended the 'sharing' settings within GoogleDocs so I hope from now on you will find it a little easier.  Please don't hesitate to get in touch otherwise.

One final bit of housekeeping before we move on to another Easter tutorial.  I'm always grateful to folks who take the time to leave a comment here on my blog.  I will ALWAYS reply to comments, so if you don't get a response from me, it's because your email address doesn't register with your comment.  In blogging terms you are known as a 'no reply comment' blogger. If this is you, I would love to be able to connect and chat with you more, so here and here are some tips you can try to fix your settings.  Alternatively, just leave me your email address with your comment (especially important when entering giveaways!).

On to our next Easter Tutorial!

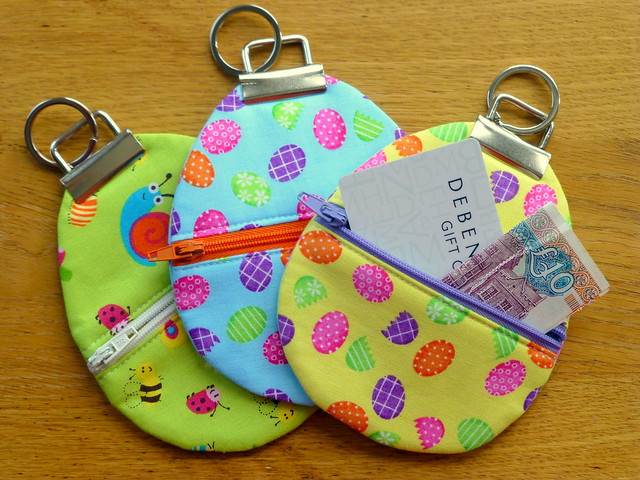
Easter Egg Zippy pouches tutorial

Easter Egg Zippy Pouches!

This one is for older (or grown up) kids! As you can see, this is a fun way to gift money or vouchers!

And here's how to make them:

What you need:

Front:
From outer and lining fabrics & sew-in vilene (med/heavy) cut 2 x (5" wide by 3.5" tall)
Back:
From outer and lining fabrics & sew-in vilene (med/heavy) cut 2 x (5" wide by 6" tall)
5" plastic zipper (or longer)
1.25" wide key fob
Basting spray 505
Zipper foot

Assume 1/4" seams

Download the 'Egg' template here.

1. Spray baste the vilene to the wrong sides of the corresponding outer pieces.


2. Place the zipper right sides together along the top edge of a 5"  x  3.5" outer/front piece.


3. Pin a corresponding lining piece on top, right sides together with the outer fabric.


4. Using the zipper foot, sew through all layers.


5. Flip the lining over to the back and press away from the zipper.  From the front side, sew 1/8" finishing seam beside the zipper.


6. Now lay the other outer (front) piece on the table, right side facing.  Place the zippered piece right sides together with the zipper aligned at the top edge.


7. Pin the remaining corresponding lining piece on top, right sides together with the attached lining piece.  Sew through all layers as before.


8. Again flip the lining to the back side, press and sew a finishing seam 1/8" away from the zipper.  Your pouch front should look something like this.


9. Place the template onto the lining side and draw around with a pencil.  Before cutting out on the line, bring the zipper pull inside the pouch and sew a few stitches across the zipper (just inside the line) to secure.


10. Place the outer/vilene back piece WRONG sides together with the corresponding lining piece.


11.  Place right sides together with the egg front.  Pin and sew 1/4" inside the edge.


12. Trim away the excess and zigzag the raw edges.


13. Turn the pouch right side out through the zipper and press well.


14. Attach the keyfob & ring to the top of the 'egg'.


Stuff with money, goodies (or diamonds!) and gift to your favourite big person!!
Easter Egg Zippy pouches tutorial

Happy Zipping!

Jude xo

Thursday 17 March 2016

Carrot Cornets!

Happy St. Patrick's Day!


Ready for another Easter Tutorial?

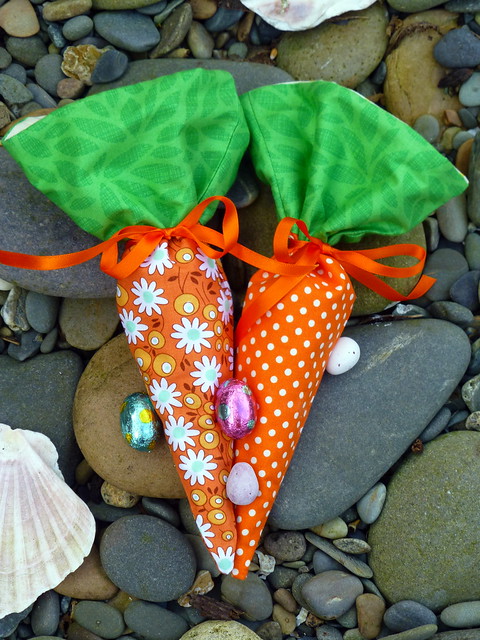
Easter Carrot Cornets tutorial

Today we are making Carrot Cornets!

Aren't they cute, and perfect for little chocolate eggs (& fingers!).

Here's what you need for 1 cornet:

Outer:
2 x (6.5" wide by 8" tall) orange fabric
2 x (6.5" wide by 3.5" tall) green fabric

Lining:
2 x (6.5" wide by 10.5" tall)

Ribbon:
1 x (0.25" wide by 18")

Assume 1/4" seams

1. Join the green tops to each piece of orange fabric. Press the seams open.


2. Sew the mid-way point of the ribbon to the centre of the seam.


3. Keeping the ribbon out of the way, trim the sides at an angle, from the top corners to the centre of the bottom edge.  Do this to both outer pieces and the 2 lining pieces.


4. Place both outer pieces right sides together and sew down both sides (use a reverse stitch at the start and finish).

5. Carefully trim the bulk out of the point before turning right sides out and press.


6. Sew the 2 lining pieces right sides together (same as for the outer) leaving a 2" gap in one side, near to the top. Do not turn right sides out.


7. Pop the outer cornet inside the lining so that right sides are together. Line up the side seams, pin and sew around the top edge.


8.  Pull the outer cornet through the gap in the lining.  Hand or machine stitch the gap closed.  Push the lining down inside the cornet, and press well around the top edge.

Stuff full of mini treats and tie closed with the ribbon!

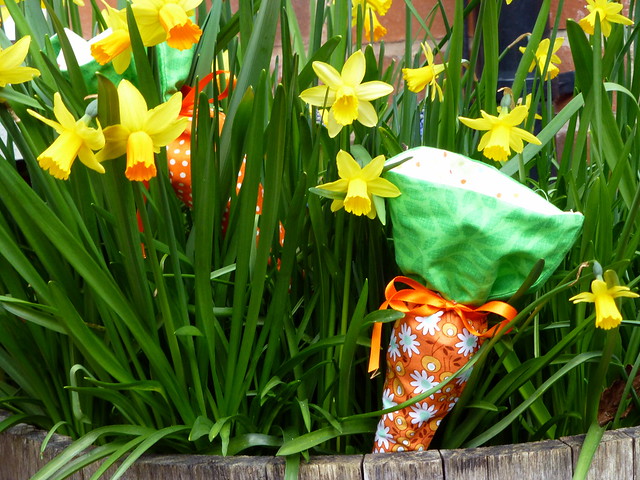
Easter Carrot Cornets tutorial

Wouldn't these be great fun to discover in the garden at an 'Easter Egg Hunt'!

Wishing you lots of carrot fun!

And if you missed previous tutorials in my Easter series here are the links:

Easter Bunny Bags
Easter Bibs

Happy carrots!

Jude xo