Showing posts with label tutorial. Show all posts

Sunday, 10 January 2016

Apache Tote Bag Tutorial

Do you find that some fabrics really lend themselves to particular projects?

When I first saw Fabric Yard's Arrow Apache deco weight fabric (in orange) I immediately knew what to make with it!

Tote Bag tutorial for Fabric Yard

And just look at the perfect lining to go with it (Fletching Chant):

Tote Bag tutorial for Fabric Yard

This is a really simple tote tutorial, which you can get here on the Fabric Yard blog.
 

And check out their gorgeous range of faux leather handles, the perfect finish to any bag, and in cool, funky colours too!

A super easy make to kick off the new year!

Happy Sewing!

Jude xo

Monday, 14 September 2015

Art Supplies Backpack Tutorial

Giveaway is now closed!

My September tutorial for Fabric Yard is one all budding artists will love!

Kids Art Supplies Backpack

Kids Art Supplies Backpack

These simple backpacks are made using 2 half metres of fabric, some cord and eyelets.


You can get all the necessary art equipment in these for a fun day out!  And check out this cool 'Colour Me Fabric' by Michael Millar - nothing to colour in?  Then why not decorate your backpack!

The full tutorial is here!

Kids Art Supplies Backpack

And here's an extra treat for you!

Fabric Yard are kindly giving away 1m of 'Colour Me Fabric', a pack of fabric pens, and I'm throwing in the latest Issue of Quilt Now.

Giveaway Sept15

For a chance to win these goodies, just leave me a comment ('no reply comment bloggers' will not be entered unless you leave your email address in addition to your comment).

Giveaway closes Friday 18th September, international entries welcome.

Jude xo

Tuesday, 7 April 2015

Quarter Log Cabin Cushion Tutorial

I hope you've been enjoying some gorgeous sunny weather this Easter!

We have had an amazing 3 days of warm sunshine here, which has meant more outdoor pursuits than sitting inside sewing!

Tollymore April'15
My youngest (with lolly in mouth!) and I at Tollymore Forest Park, Newcastle
(yes, she is officially the same size as me now! Yikes)
However, if you aren't getting much sunshine, or just still want to sew, you may be interested in this easy cushion project!

Quarter Log Cabin cushion

This 16.5" cushion is based on the quarter log cabin block, simply quilted with a trusty envelope back!


This project allows you to show off gorgeous prints or fussy cuts, like the fabrics shown here (available from Fabric Yard).


If you fancy making one yourself, then check out the full tutorial here.

Have fun!

Jude xo

Wednesday, 5 October 2011

Bee Blessed - the next block!

Thank you so much to everyone who made wonky stars for our first Bee Blessed project.

So far we have received over 60 blocks, from 5 different countires, and have made 3 cot quilt tops so far, which we are in the process of quilting and binding.  We have a few blocks left over and know that a few more are still to come in, so we may even have a 4th quilt top!  How fab is that?

For our next project we will be making disappearing 9 patch blocks. 


This will probably be either for an adult or a family.  We aren't setting a colour code this time around, we only ask that the 4 'sliced' squares be plain white (no white on white) as shown in the tutorial below.

As always the unfinished block should be squared to 12.5".

D9P Tutorial:  Assume scant 1/4" seams throughout

1. Cut 4 x 4.75" plain white squares and 5 x 4.75" coloured squares.
2. Lay these out in rows of 3 to get a simple 9 patch (the centre coloured square will end up as the 4 mini squares).


3. Sew  the squares together in rows.
4. Take the rows to the ironing board and iron the seams as follows:
    Top row: iron seams OUT away from the white square
    Middle row: iron seams IN towards the centre coloured square
    Bottom row: iron seams OUT away from white square


5. Now lay the top row on top of the middle row, right sides together, and butt the intersecting seams (they should fit snuggly together because the seams are lying in opposite directions).  Pin the intersections.


6. Sew the rows together, and then repeat step 5 for the remaining bottom row.

Take care as you sew over the seams that are underneath and 'hidden'.  Make sure they don't 'flip' as you sew over them.
7. Iron the 2 seams away from the centre.
8. Now take your piece to the cutting mat, find the halfway point and slice in half.


9. Turn the 2 pieces around, find the halfway point and slice in half again.


10. Rotate 2 opposite pieces 180 degrees to separate out the small centre squares.


11.  Sew the top 2 pieces together, and then the bottom 2 pieces.
12.  Take both pieces to the ironing board and iron one joining seam going in one direction and the other joining seam going in the opposite direction.


13. Lay the 2 pieces rights sides together, and butt the centre seams together & pin.


14. Sew the 2 pieces together and iron this last seam OPEN.


15. Trim the block to 12.5" & stand back and admire your work!


Thank you so much in advance of your support for Bee Blessed and taking the time to make a block or two.

Don't forget to post pictures of your blocks in the Flickr group.

If you don't already have my postal address, just drop me a wee email & I'll send it to you.

Have a great Wednesday!

Sunday, 7 August 2011

Wonky Corners Block Tutorial

As promised, here is a tute on how to make this block, which I made for Sarah in the monthly Brit Bee.


I've called it 'Wonky Corners' because I couldn't think of anything else!  But if this block has a 'proper' name, please let me know!

The effect of this block is achieved by alternating coloured strips with a dark solid (black in Sarah's block, and navy in this tutorial example).  It works up to 12.5" finished.

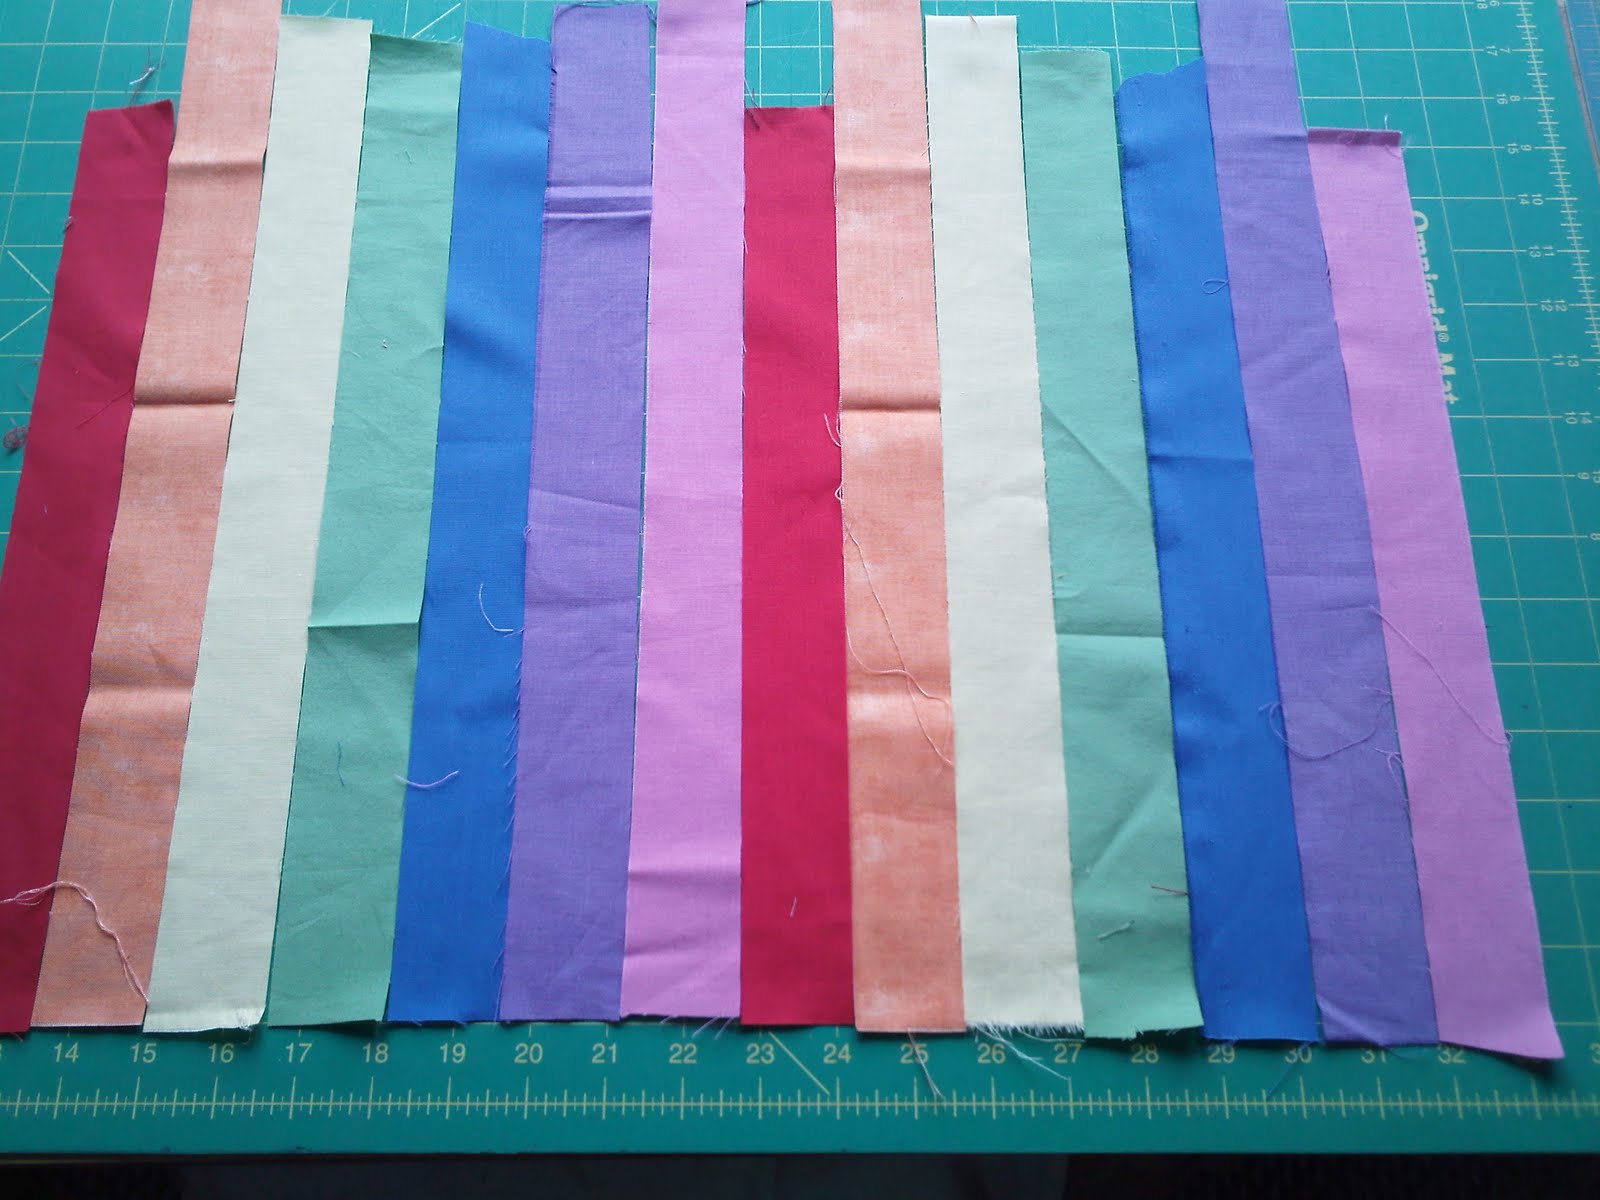
1. Gather together scraps of fabrics.  Varying lengths are good, and you could also use jelly roll strips.


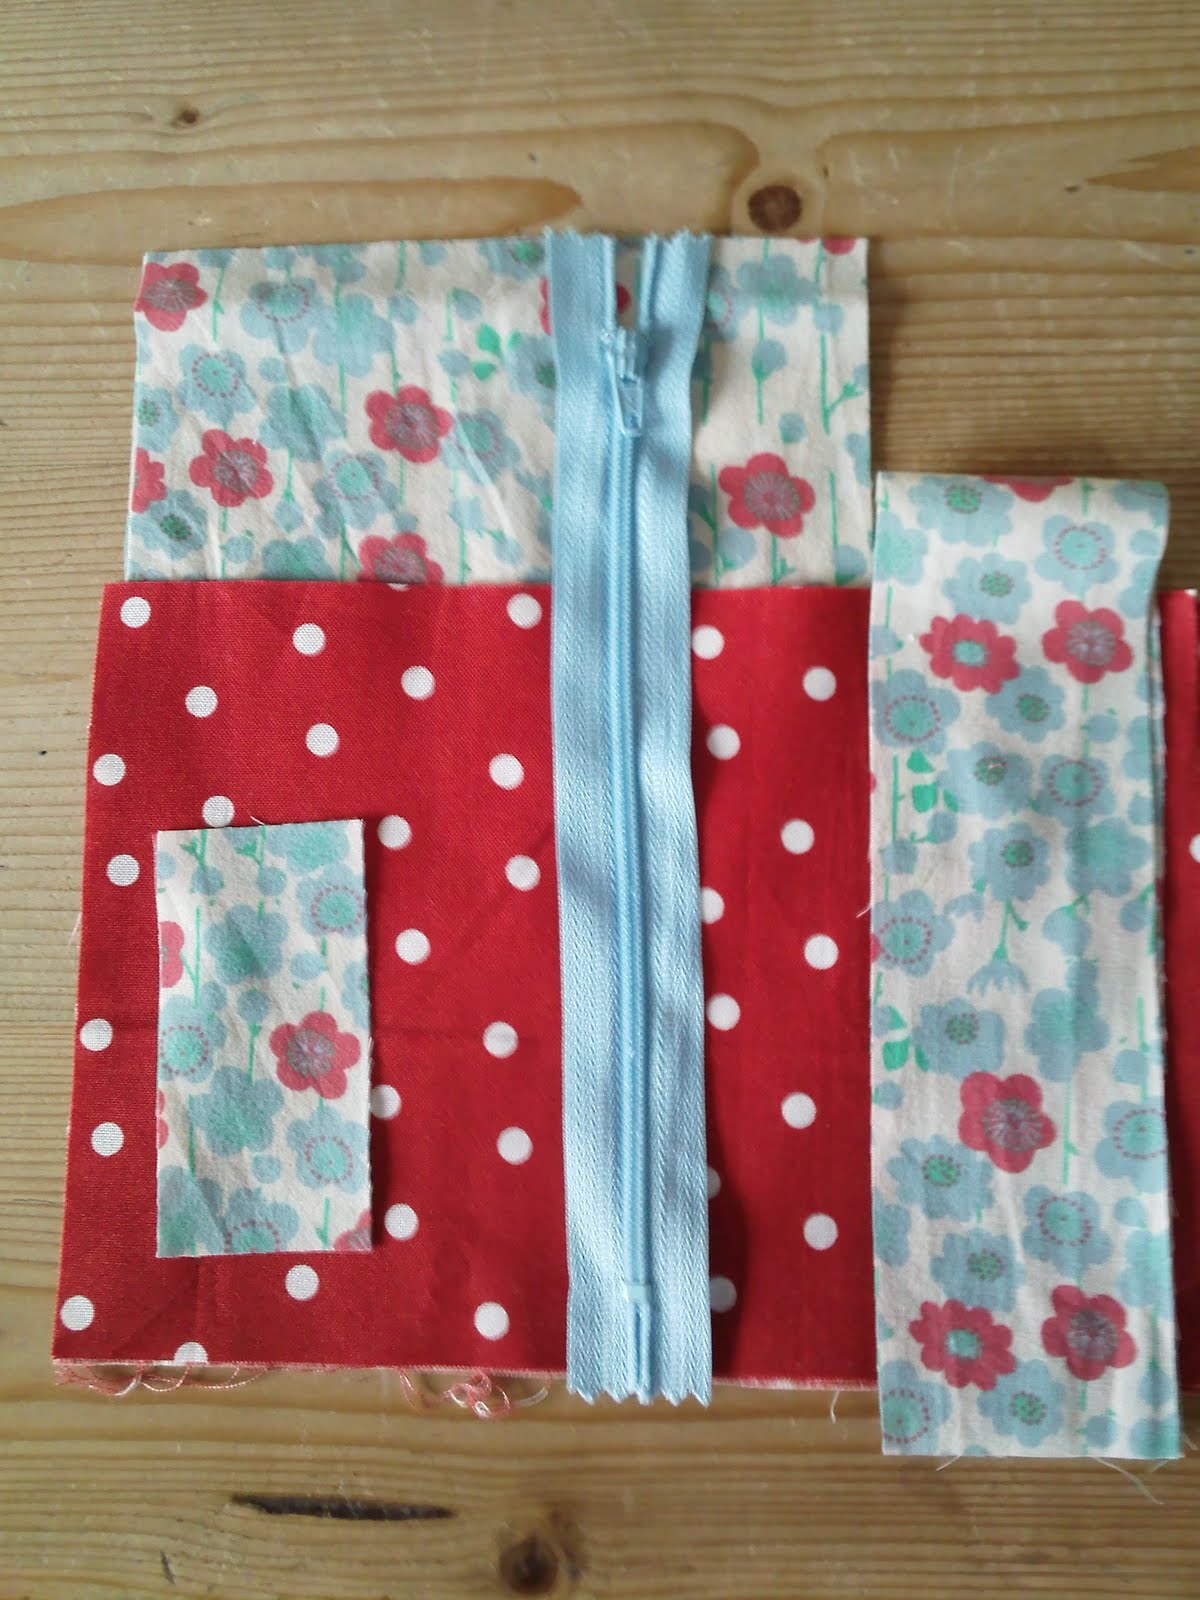
2. Start with a 2.5" coloured square.  Try to keep this in the same position - I keep mine to the top left hand corner of the block, and add strips to the right & bottom edges.

3. Angle the side of the starting square by approx. 0.5".


4. Pin a strip of dark fabric to this wonky edge.  Flip it over to make sure that it will pass the top edge of the starting square.


5. Once in position, sew a 1/4" seam along the edge and press the seam away from the starting square.
6. Position the piece back on the cutting mat, making sure the starting square is lying square on the mat.  Angle the side of the first dark strip & also the bottom edge.


7. Now pin, position & sew the 2nd dark strip along the bottom edge.  Remember to overhang the dark strip slightly beyond the outer edge of the starting square.
Again, iron the seams away from the starting square.


8. Angle the side of the 2nd dark strip and square off the opposite 2 edges - these are the edges which include the remaining raw edges of the starting square.  They are the measuring point for keeping these outer edges square.  I like to put a sticker in the left hand corner of my starting square to remind me to keep these 2 edges square.


9. Now add 2 more coloured strips in the same way as before. 


10. Angle them, square off the outer edges, before adding another row of dark solid.
11.  Continue adding alternate rows of coloured & dark solid fabrics, increasing in width as the block gets bigger.


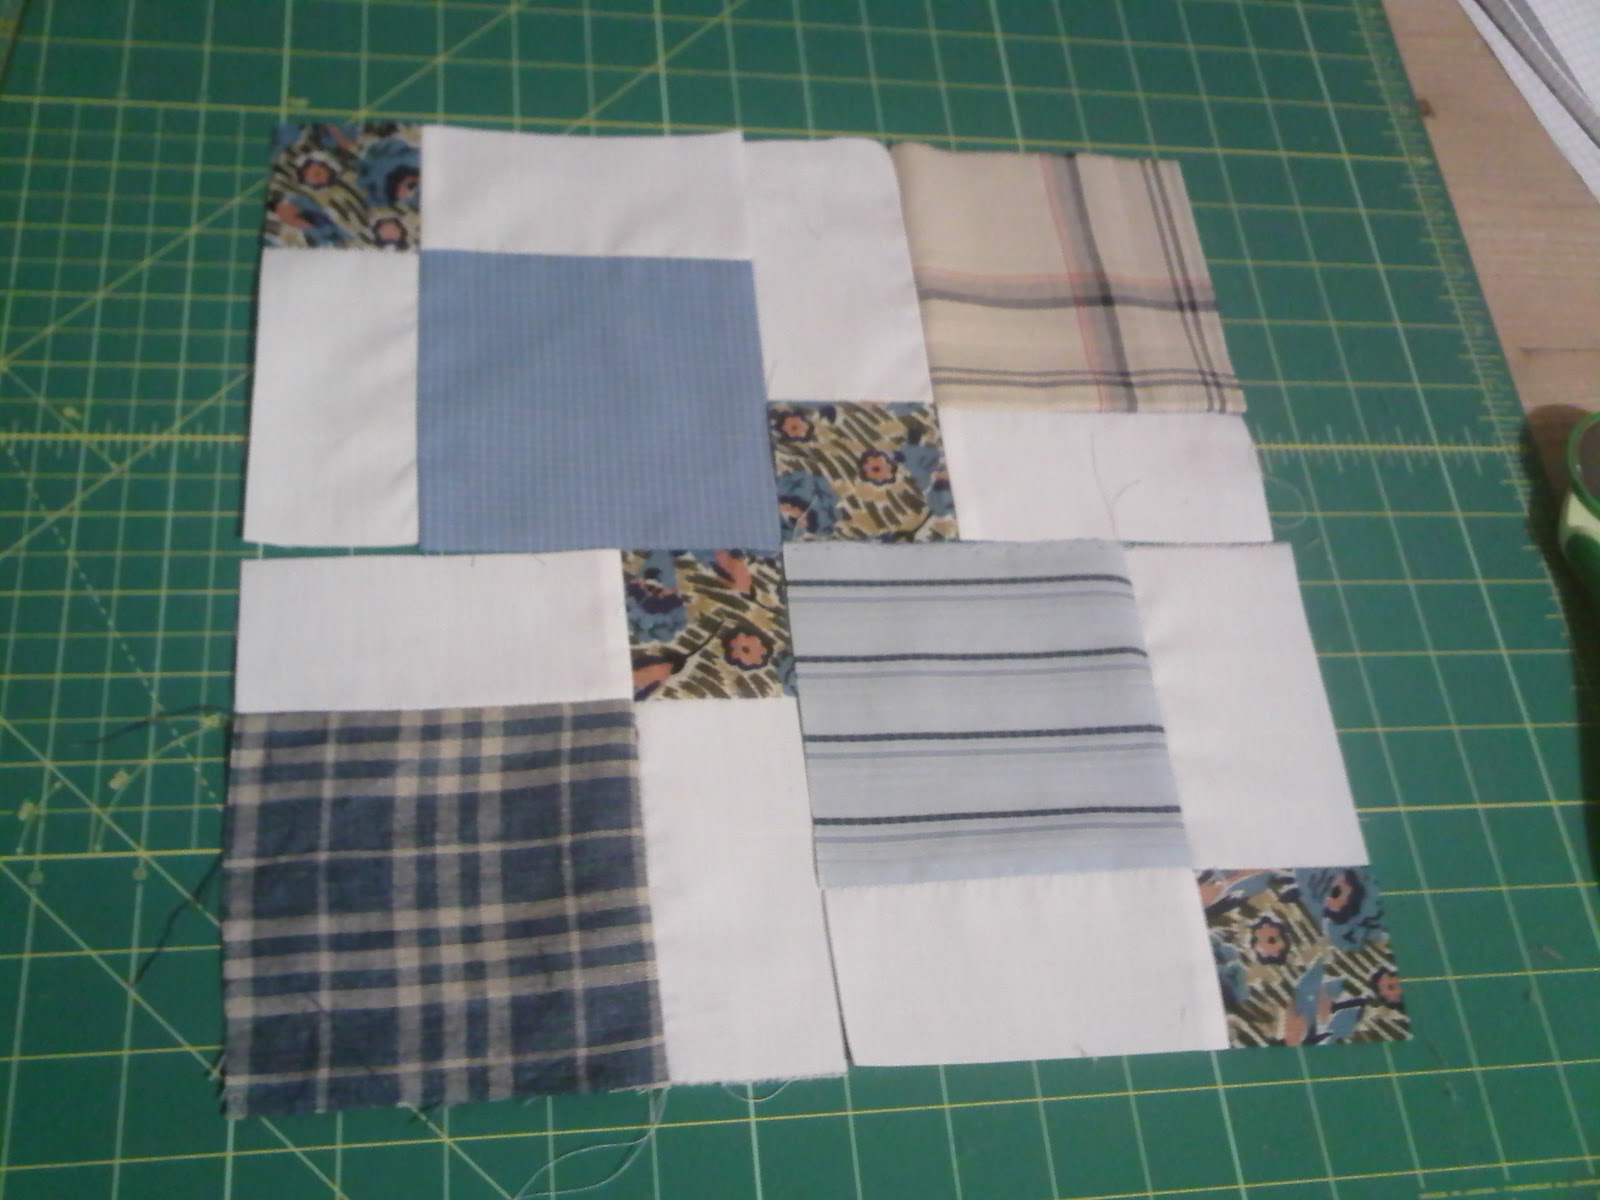
12.   I stopped adding strips when I got to 12.5" and then squared off the entire block.  However you could stop or continue to whatever size you choose.


Variations to this block could be ..
* using white or pale grey solids with darker patterns 
* keeping the fabrics the same in each row (I used different patterns in my coloured sections)
* using light shades on the top row and dark shades on the bottom row
* using thin strips of solid with wide strips of pattern, or vice versa
* increase the 'wonkiness' by increasing/varying the angles
* not having contrasting solids at all!

I would love to see your version of this block, should you decide to have a go.  

Please send me a pic of your finished block, and I'll put up a mosaic of all of them on my blog to inspire others to have a go!

Happy sewing!

Tuesday, 10 May 2011

Colour Brick & other pressies!

My nephew turns 13 on 8th June, so I thought I'd better get my skates on regarding his birthday quilt.

I'm following Rachel Hauser's tutorial for the Colour Brick Quilt Along she did last year.

Rachel has an excellent & detailed tutorial over on her blog, but I'll just give you the edited highlights of what I've done so far.

Step 1: Cut out 55 'bricks' & lots of sashing:

A mixture of Kaffe Fasset & others from my stash!

I decided on Kona Ash for the sashing - more boyish than white I think!
Step 2: Chain piece the vertical sashing strips to the bricks:

This is one VERY long chain!!!

Just looks like a mess so far!
Step 3:  After ironing the sashing seams, lay the bricks out in rows & decide on your design:

I'm just going 'random' with my design, no set pattern.
Step 4: Join the bricks in rows & iron the seams:

Half bricks are created for the edges by cutting in half 5 overhanging bricks.
So, that's as far as I've got.

Next step is to start adding the horizontal sashing (12 strips!).

I'm really pleased with how this is shaping up.  My nephew is a stylish & trendy young lad, and his bedroom is bright blue, so I hope think he'll be pleased!

Thank you pressies!

Yesterday my girls were wonderfully blessed by a huge bag of clothes from some friends in our church. 

3 young, talented, trendy and extremely generous sisters had a clear out of their wardrobes and brought the donation to us!  It was like Christmas come early! 

So to say 'thank you' to our friends, I'm making them each a make-up purse based on Flossie Teacakes' design.

Fabrics selected
 All cut out and ready to go .......


I haven't tried this tutorial before so am looking forward to making some new gifts.

Wednesday, 20 April 2011

Rainbow Binding Tutorial

As promised here is a tutorial on how to make the rainbow binding you can see on my Eye Spy Quilt!

1. Cut 1.5" strips from your rainbow fabrics (Red, Orange, Yellow, Green, Blue, Indigo/Purple, Violet/Pink = 1 group of strips).  The strips should be approx. 13" long (you can cut longer but I find sewing longer, thin strips increases the chances of wobbly seams!).

I have 2 groups of strips laid out here.

2. Sew each group of strips together using a 1/4" seam.  You can have as many 'groups' of rainbow strips as you wish (for my 37" square quilt I needed approx 7 groups). 


3. Join the groups together and iron the seams open.


4. Lay the piece on your cutting mat with the strips going horizontally across the mat.  Cut 2.5" strips.


5. Join these new strips together, piecing the pink end to the red end so that the rainbow pattern continues in order.  You should now have a long rainbow patterned strip.


6. To calculate how much binding you need to go round your quilt, add up the 4 sides of your quilt & add 10".  Keep adding strips to your rainbow binding until you have enough.


7. Iron the long rainbow strip in half lengthways.  Because of so many internal seams, I found it easier to pin the top of the strip as I was folding, making sure the seams stay open inside the binding.  Then I ironed the binding flat with the pins still in.


8. If you are not sewing your binding onto your quilt straight away, it is a good idea to wrap it around a piece of cardboard to keep it flat.


9. You are now ready to sew your binding onto your quilt.  There are numerous tutorials out there on how to do this.  Check out Red Pepper Quilts and Crazy Mom Quilts to name but a few.

Have fun making your own rainbow binding.