Showing posts with label disappearing 9 patch. Show all posts

Monday, 21 December 2015

Quillow Up Front!

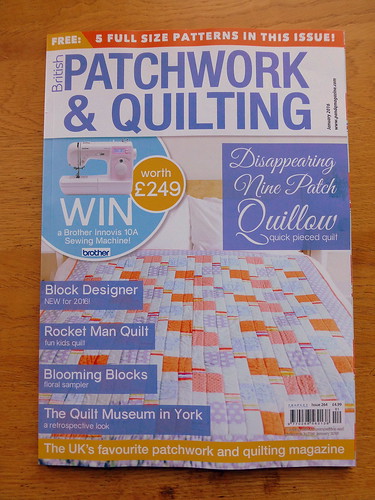
I'm delighted to be working with British Patchwork and Quilting magazine and submitted my first project to them several months ago!

Imagine my surprise when my first project is presented on the front cover!

British Patchwork & Quilting Jan16


It's always a contributor's delight to make the front cover!!

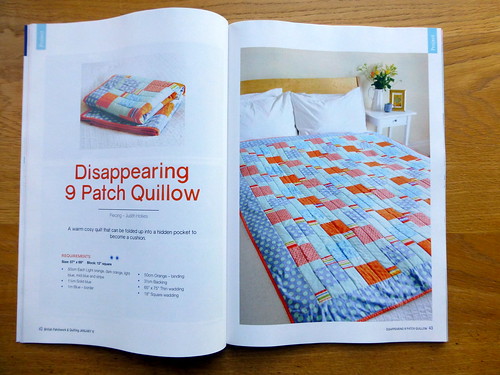
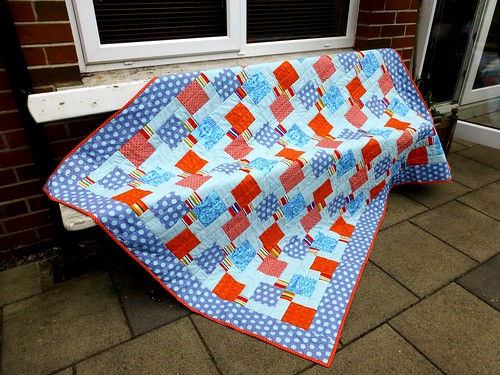
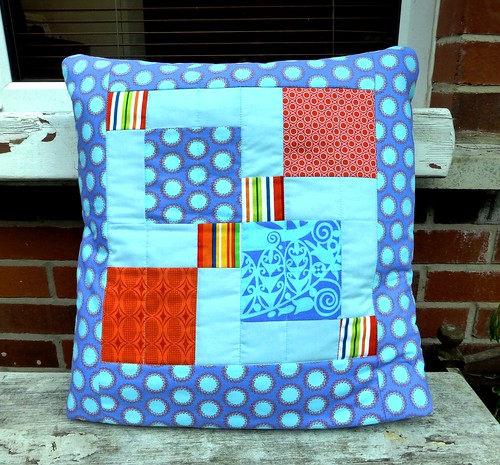
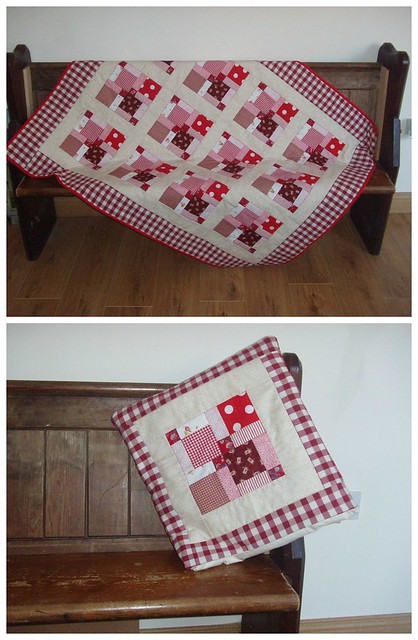
This is my Disappearing 9 Patch Quillow.  The disappearing 9 patch block is one of the quickest and most satisfying blocks to make.  And a quillow is a quilt which folds up into a pillow!!

British Patchwork & Quilting Jan16

Quillows are great for taking camping, to sleepovers, caravans, or in the car!

D9P Quillow 003

So if you'd like a quick and fun pattern to make one, get the January issue of British Patchwork and Quilting, out now!

D9P Quillow 001 (3)

Jude xo


Saturday, 13 July 2013

Disappearing Quillow!

First up, I'm delighted to finally announce my Autumn programme of In Stitches classes!  It's a varied programme this term - hopefully something for everyone!

You can check out all the details here, and email me if you'd like to sign up for any of them. But be quick!  Places are limited!

One of the projects I'll be teaching is my Disappearing 9 Patch Quillow.  A quillow is a quilt with a hidden pocket in the back, which you can fold the quilt up into to make a pillow!  Clever eh?!

I've taught this sashed version before, a couple of years ago:

D9P Quillow

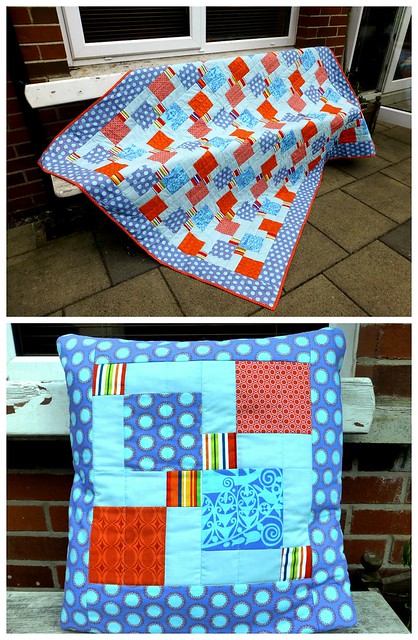
 Now that I'm introducing it to a new class I thought I'd offer a non-sashed version:

D9P quillow

I love how different the design becomes when you take away the sashing and allow 4 of the D9P squares become the 'background'.

Learning how to sash a quilt is a great skill to learn, however if you feel it is a step too far, you can stick with the simpler, non-sashed version!

Quillows provide a practical and fun way to make your quilt transportable and extra snuggly! They are great for kids and big kids adults alike!

The 2 versions of this quillow will soon be available in the one pattern in my Etsy shop.

Quillow Class: (8 weeks) Monday evenings, starting 2nd September.

Jxo

Wednesday, 5 October 2011

Bee Blessed - the next block!

Thank you so much to everyone who made wonky stars for our first Bee Blessed project.

So far we have received over 60 blocks, from 5 different countires, and have made 3 cot quilt tops so far, which we are in the process of quilting and binding.  We have a few blocks left over and know that a few more are still to come in, so we may even have a 4th quilt top!  How fab is that?

For our next project we will be making disappearing 9 patch blocks. 


This will probably be either for an adult or a family.  We aren't setting a colour code this time around, we only ask that the 4 'sliced' squares be plain white (no white on white) as shown in the tutorial below.

As always the unfinished block should be squared to 12.5".

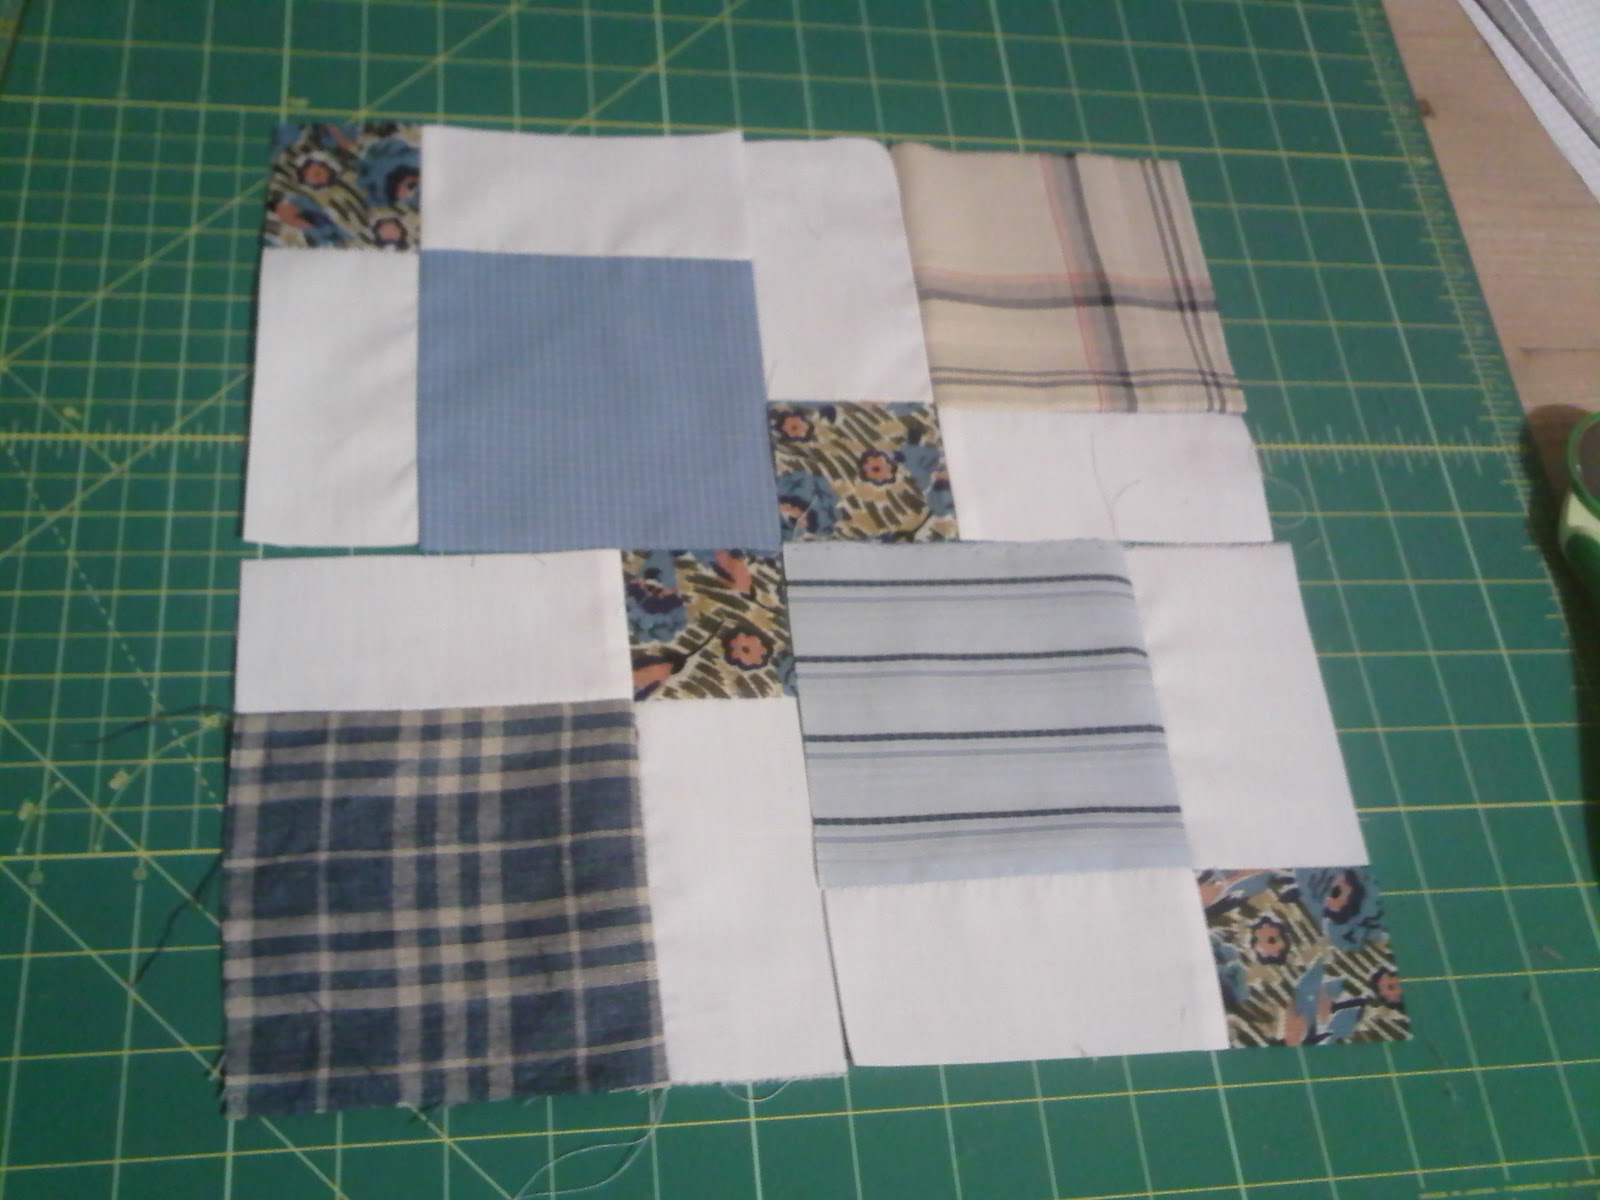
D9P Tutorial:  Assume scant 1/4" seams throughout

1. Cut 4 x 4.75" plain white squares and 5 x 4.75" coloured squares.
2. Lay these out in rows of 3 to get a simple 9 patch (the centre coloured square will end up as the 4 mini squares).


3. Sew  the squares together in rows.
4. Take the rows to the ironing board and iron the seams as follows:
    Top row: iron seams OUT away from the white square
    Middle row: iron seams IN towards the centre coloured square
    Bottom row: iron seams OUT away from white square


5. Now lay the top row on top of the middle row, right sides together, and butt the intersecting seams (they should fit snuggly together because the seams are lying in opposite directions).  Pin the intersections.


6. Sew the rows together, and then repeat step 5 for the remaining bottom row.

Take care as you sew over the seams that are underneath and 'hidden'.  Make sure they don't 'flip' as you sew over them.
7. Iron the 2 seams away from the centre.
8. Now take your piece to the cutting mat, find the halfway point and slice in half.


9. Turn the 2 pieces around, find the halfway point and slice in half again.


10. Rotate 2 opposite pieces 180 degrees to separate out the small centre squares.


11.  Sew the top 2 pieces together, and then the bottom 2 pieces.
12.  Take both pieces to the ironing board and iron one joining seam going in one direction and the other joining seam going in the opposite direction.


13. Lay the 2 pieces rights sides together, and butt the centre seams together & pin.


14. Sew the 2 pieces together and iron this last seam OPEN.


15. Trim the block to 12.5" & stand back and admire your work!


Thank you so much in advance of your support for Bee Blessed and taking the time to make a block or two.

Don't forget to post pictures of your blocks in the Flickr group.

If you don't already have my postal address, just drop me a wee email & I'll send it to you.

Have a great Wednesday!

Saturday, 4 June 2011

June Brit Block

My lovely wee package arrived yesterday, from Miss June (aka Fiona).

Check out this lovely Dream On fabric:


This month, Fiona will have all the Brit Bee-vers making disappearing 9 patch blocks with her gorgeous fabrics.  This is going to be one summery quilt!

(P.s. thanks Fi for the choccy treat - yum!)

Hopefully soon I can show you pictures of the completed May blocks I did for Trudi (we can't blog about it until Trudi gets all the blocks back from every Bee member).

We have had 3 glorious days of sunshine here in N.I.  I'll leave you with a few pics of some of my favourite outdoor things (trees & kids!!):

Our favourite tree!


First born - the one getting 'crazy daughter quilt'!


No rude comments please!!