Tuesday, 15 March 2016

Shape Sorter Street Quilt

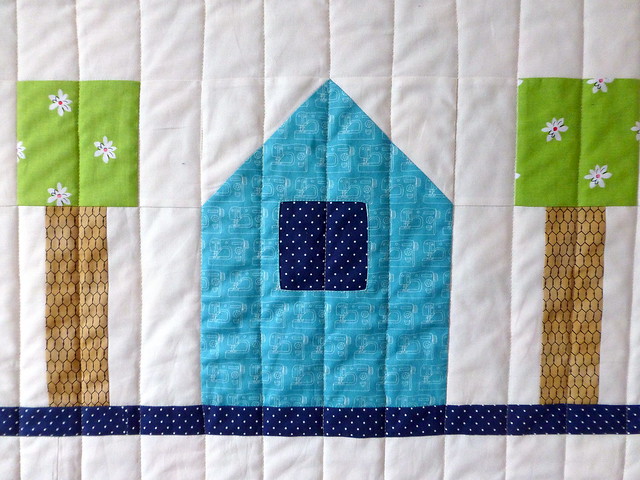
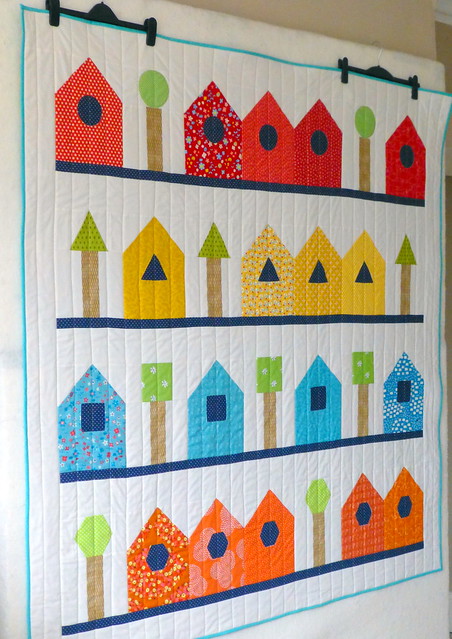
Popular Patchwork asked me to design a 'houses' quilt!

Quite a few wonderful houses quilts have already been designed over the years so it was a tough challenge to come up with something 'original'!

But the creative juices started flowing and I came up with this:

Shape Sorter Street Quilt / Popular Patchwork (April'16)
65" x 64"
I knew I wanted a modern, simple design, and as I started thinking of bringing in porthole shapes to the houses, they reminded me of the wooden shape sorter toy that my kids used to play with when they were small!


And so 'Shape Sorter Street' was born. 

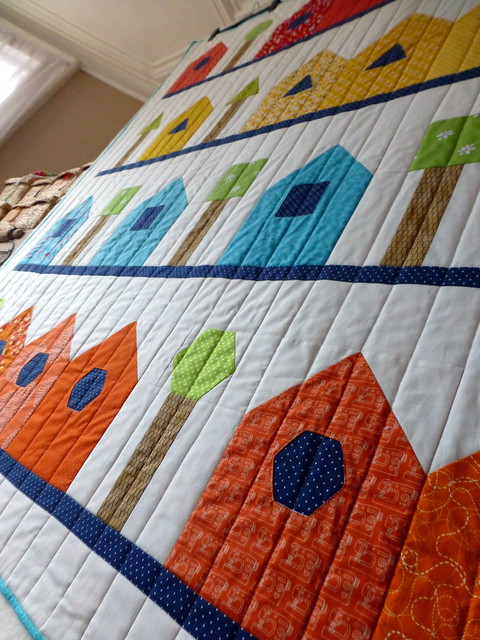
Shape Sorter Street Quilt / Popular Patchwork (April'16)

It was a lot of fun to make, matching up the shape of the trees with their corresponding houses!

Shape Sorter Street Quilt / Popular Patchwork (April'16)


Apologies for the poor indoor pics! It was a dreadfully dull day when I finished this quilt.  When I get the quilt back from Popular Patchwork I'll take some better, outdoor pics!

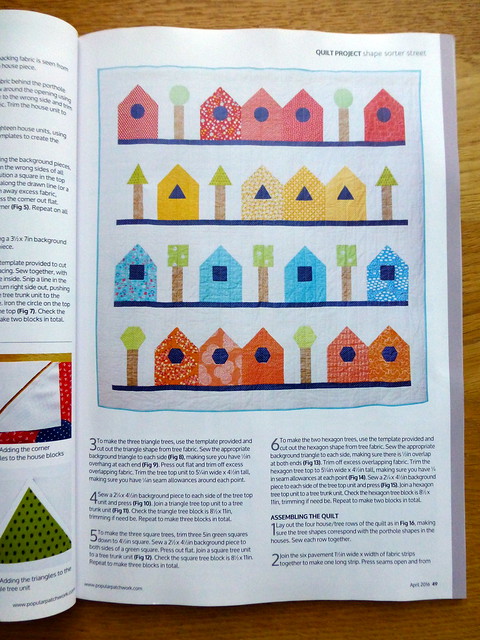
The April issue of Popular Patchwork is out now!

Shape Sorter Street Quilt / Popular Patchwork (April'16)

Jude xo

Sunday, 13 March 2016

Patchwork Bibs!

Have you had a wonderful weekend?

The weather here has been positively balmy!!  15 degrees today (that was the average temperature last July)!

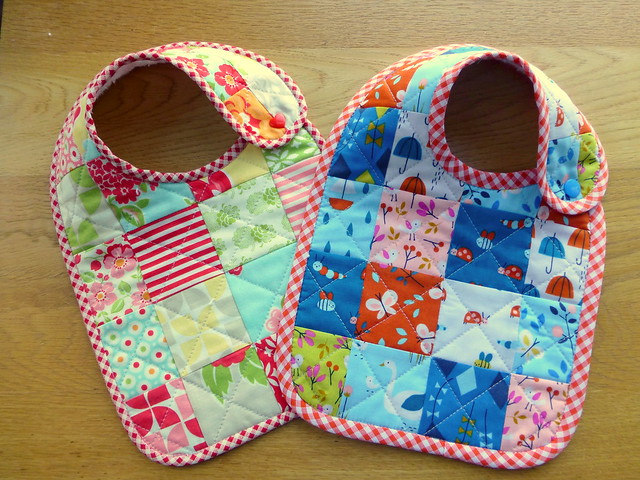
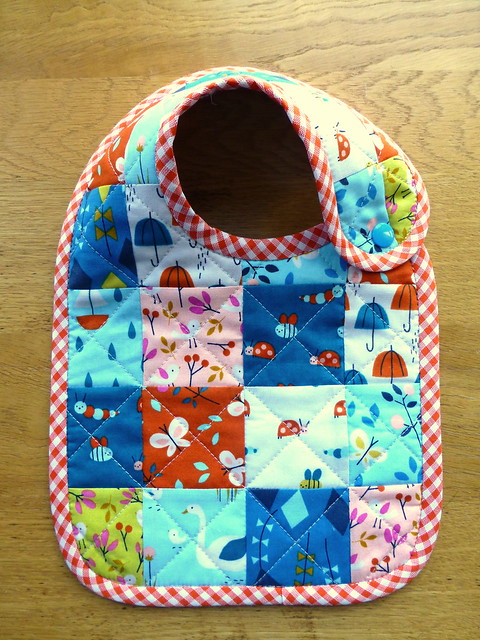
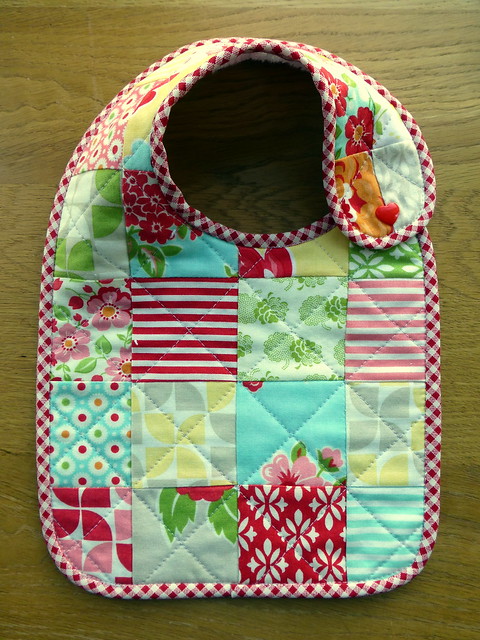
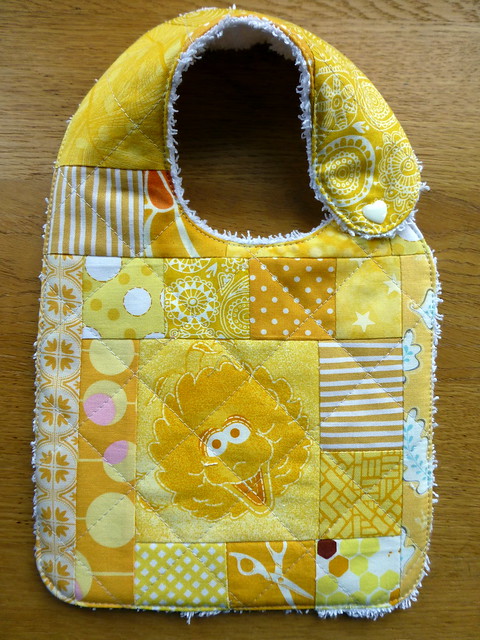
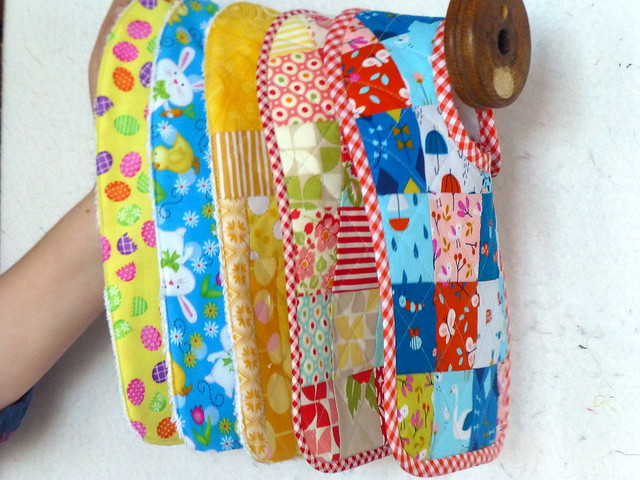
Following on from my Easter Bibs tutorial last week, I thought I'd show you some patchwork versions!

Baby Bibs Tutorial

These are great scrap buster projects, using 28 x 2.5" squares (perfect for leftover jellyroll & binding strips).

Patchwork Bibs
Made with quilt leftovers - 'Spring Walk' by Little Cube
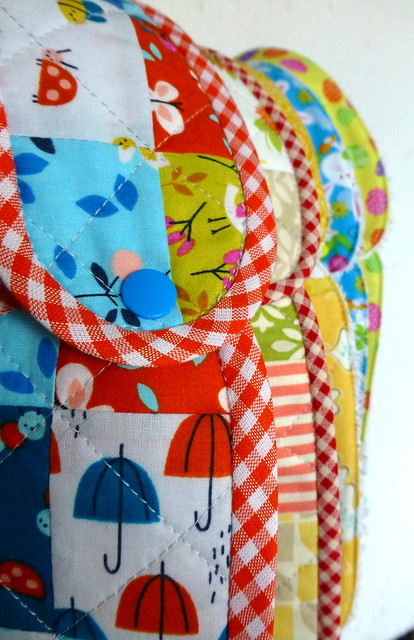
I used the same template as before, and quilted the patchwork front and towelling together, before sealing the raw edges with bias binding.

Patchwork Bibs
Made with leftover Bonnie and Camille jelly roll strips
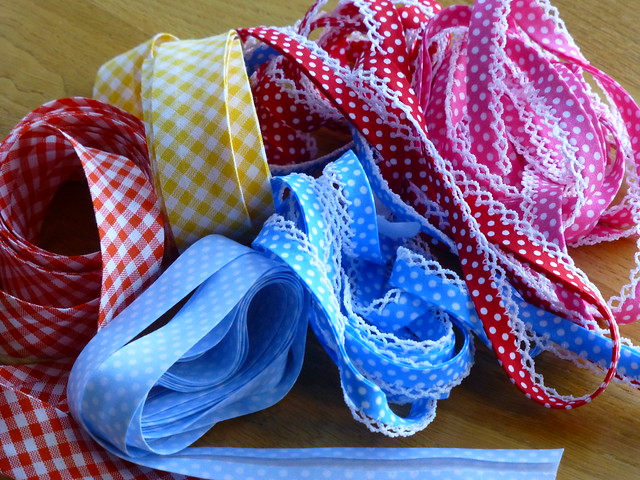
These days there is a lovely selection of pretty bias and trims to choose from. Here's a small selection I picked up locally.

Bias Binding

And if you don't want to fuss with bias binding, quilt your patchwork front with a little wadding before following my original tutorial

Baby Bibs Tutorial


These bibs took no time at all to make!  Wouldn't they make gorgeous baby-shower gifts?

Patchwork Bibs


Whatever the occasion, I hope you are enjoying my Easter tutorials series.  More to come this week!

Linking up with Scraptastic Tuesday!

Jude xo

Saturday, 12 March 2016

A Personal Best!

Today I ran my very first 5k Park Run!

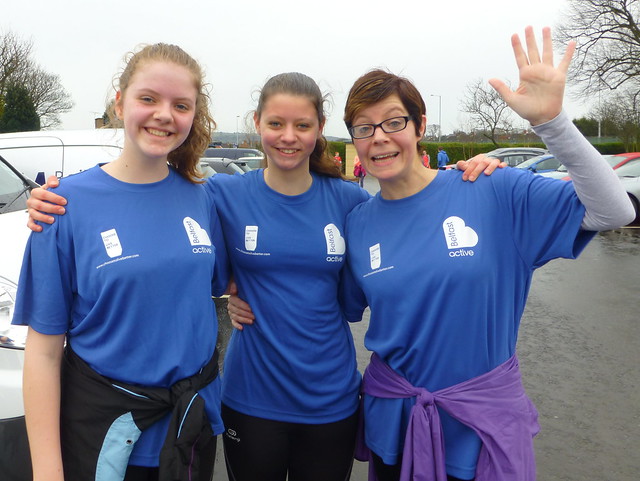
L-R: Lucy, Bethany, Me, Ruth & Rebekah (Ruth's daughter)
I know lots of folks go running, run marathons, go to the gym, run 10k's, every day of the week perhaps! To some it might not seem like a big thing, to run 5k, it is only 3 miles after all!

But for me, starting the 10 week 'Couch to 5k' programme in January was huge.  Ever since being diagnosed with M.E. at the age of 19 I've had pretty rubbish stamina, embarrassingly so! While I'm thankful I no longer suffer from M.E. it left a definite mark on my energy levels.


First 5k complete!  Woohoo!

My biggest fears were not being able to run the allocated slots; being too exhausted and sore the next day!! I needn't have worried, and I couldn't have done this without the support and accountability of my 2 lovely girls, one of my bestie's and of course the inspiring and well run Jog Belfast programme.

Over the 10 weeks we ran through rain, sleet, snow, freezing temperatures and wind (there was the occasional sunny spell too!), I had to dig deep to go out on Tuesday nights after 2 days on my feet, into the cold and rain, Thursday nights with Ruth (in the cold and rain), and Saturday mornings (when I just wanted to stay in a warm cosy bed!). So I'm even more proud of myself for sticking with all 10 weeks.


It was thoroughly enjoyable, and while I don't yet consider myself a 'runner' (my time was 42 minutes!!!!) I hope to continue running Park Runs on Saturdays and with Ruth through the week too. If I can run through the dark nights of January I can run anytime of the year, right!!

If you have ever considered doing a 'Couch to 5k' programme, I would highly recommend it.  Join a group and improve your stamina and well being!  Let's face it, if I can do it, anyone can!

Happy running!

Jude xo


Thursday, 10 March 2016

Easter Bibs Tutorial

Welcome back to the second tutorial in my mini Easter series, and thank you to everyone for your lovely comments and responses to my Bunny Bags tutorial.

Today's tutorial is for the youngest members of the chocolate fan club Family!

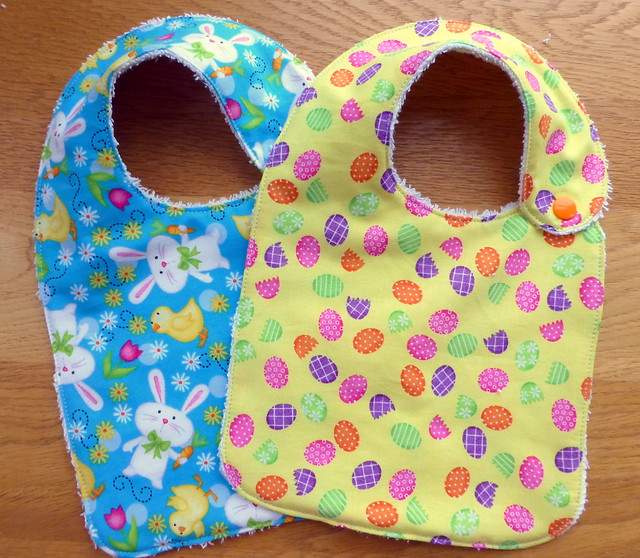
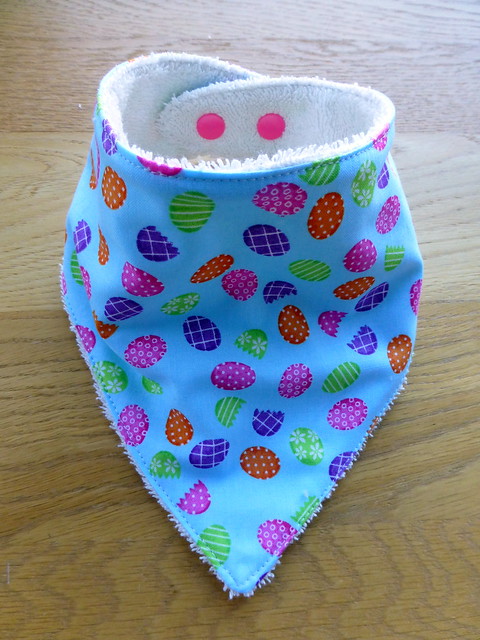
Baby Bibs Tutorial
Approx. 7.5" by 11" tall (buttoned)
These cute Easter bibs are so simple to make, using some cotton and towelling! In fact, 1 hand towel yields 5 bibs!

Baby Bibs Tutorial

Here's what you need:

Materials:

Cotton (at least 8.5" wide by 14" tall per bib) good quality to withstand lots of washing!
1 white hand towel
1 set of snap fasteners

Method:  Assume 1/4" seams

Download the bib template here.

1. Using the bib template, cut out 1 from the cotton and 1 from the towel.


2. Place right sides together and sew around all sides, leaving a 2" gap in the bottom edge.


3. Carefully snip into all the curves at 1cm intervals. Turn bib right sides out through the gap. Press well and turn under the raw edges of the gap.


4. From the top side, sew around the bib 1/8" from the edge closing the gap as you go.


5. Attach snap fasteners according to the manufacturers instructions. I found these KAM fasteners really easy to use (for similar snaps and pliers see here).


And you're done!  Attach to baby (sorry, I don't have one of those!) and feed!


And if you have a real dribble bucket teething baby on your hands, check out this tutorial for making cute dribble bandanas.

Baby Bibs Tutorial

Have fun!

(I'll have more on my patchwork bibs tomorrow!)

Jude xo


Monday, 7 March 2016

Bunny Bags (Part 2) Tutorial

Happy Monday everyone!

With less than 3 weeks until Easter Day, I think it's time we got started on some fun tutorials, don't you!

And to kick us off, how about some cute drawstring Bunny Bags!

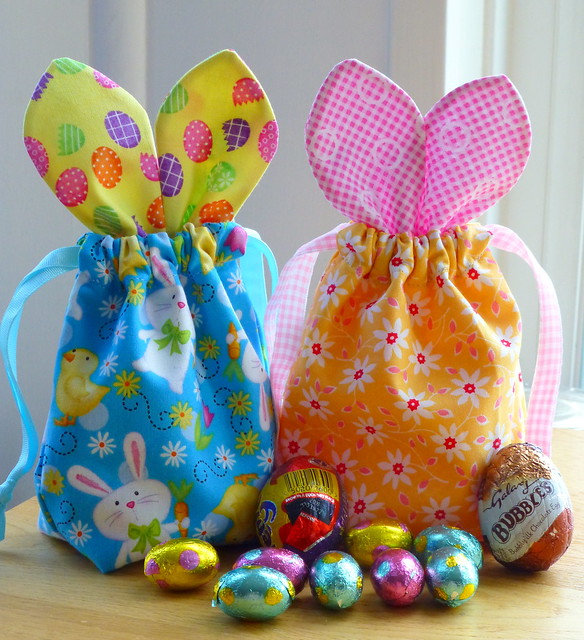
Easter Bunny Bags tutorial

How cute are these!  The perfect size for filling with small chocolates and eggs!

Bunny Bags!

Approx. 4" wide by 7" tall (incl. ears!)

You will need:

Outer Bag: 2 x (6" wide by 8" tall)
Lining: 2 x (6" wide by 8" tall)
Ears front: 2 x (2.5" wide by 4.5" tall)
Ears back: 2 x (2.5" wide by 4.5" tall)
Lightweight iron-on vilene: 1 x (2.5" x 9")
0.5" wide ribbon: 2 x 17"
small safety pin

Assume 1/4" seams

Download 'Ear' template here.

1. Iron the vilene onto the wrong sides of 2 matching ear fabrics. Cut the 2 pieces apart. Using the ears template, draw an 'ear' onto the wrong sides of the other ear fabrics.


2. Place (different) ear fabrics right sides together and sew on pencil line (use a reverse stitch to start and finish). Trim away excess fabric, leaving 1/8" seam allowance.


3. Turn the ears right sides out, press and turn under the open ends. Sew across the ends as close to the edges as you can.  Put to one side.


4. Place the outer fabrics right sides together.  Mark 2" down from both top corners.


5. Sew around sides and bottom from marker to marker.  Repeat for the 2 lining pieces, but leave a 2" gap in the bottom edge.


6. Pull the corners apart and place the side seam on top of the bottom seam. Measure 1" along the seam from the point (this will give you 2" vertically).  Mark the vertical line and sew along this line. Repeat for both corners on outer bag and lining.


7. Place the top 'flaps' right sides together, outer fabric with lining. Pin at the point where the side seams meet.


8. Sew around both 'flaps' between pins at both sides. Use a reverse stitch to start and finish, and take care not to sew into the existing seam.


9. Turn bag right side out through the gap in the lining. Hand or machine stitch the gap closed and press well.


10. Press the flaps under by approx. 0.5" or until they reach the side seams. Pin and sew one flap down (as close to the edge as possible).  Use a reverse stitch to start and finish.


11. Pin the ears onto the remaining (turned under) flap leaving approx. 1" between the ears at the bottom. Sew along the edge of the flap and along the bottom of the ears. Use a reverse stitch to start and finish.


12. Attach the safety pin to one end of the ribbon and pass through both channels until it comes out the same side where you started.


13. Knot the ribbon ends together and repeat for the other piece of ribbon from the opposite side.


And you're finished!


Fill up the bag with chocolate goodies and pull the drawstrings to close!

(I guarantee you it won't stay closed for long!!)

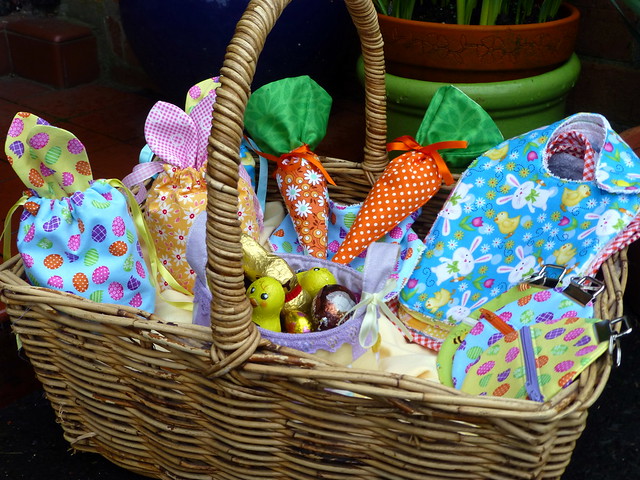
Tune in again for more tutorials on everything you see here in my Easter basket! 

Easter Tutorials on my blog


Happy Easter Sewing!

(If you don't want to miss out on any tutorials, why not 'subscribe' by filling in your email address at the top right of my blog home page! That way you will automatically be notified via email when I next post on my blog.)

Jude xo
Saturday, 5 March 2016

Selvedges, Discounted Fabrics and More!

We had some beautiful sunny days recently!

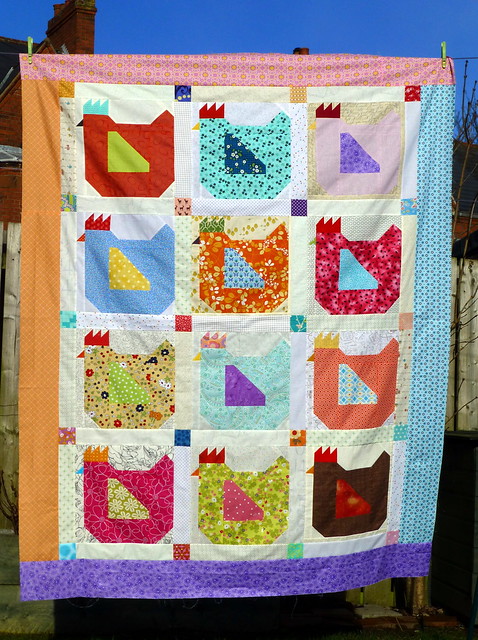
Mama Hen Quilt Top for Siblings Together

Just look at that blue sky!

This is my Siblings Together Bee 2 quilt top - borders are on and all ready to be quilted.

Siblings Together Bee2 blocks for Theresa

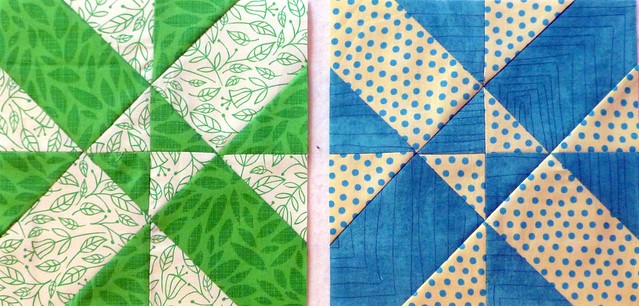
And these 8" Disappearing 4 Patch blocks are on their way to Theresa/Hilly Filly as Miss March in Siblings Together Bee 2.

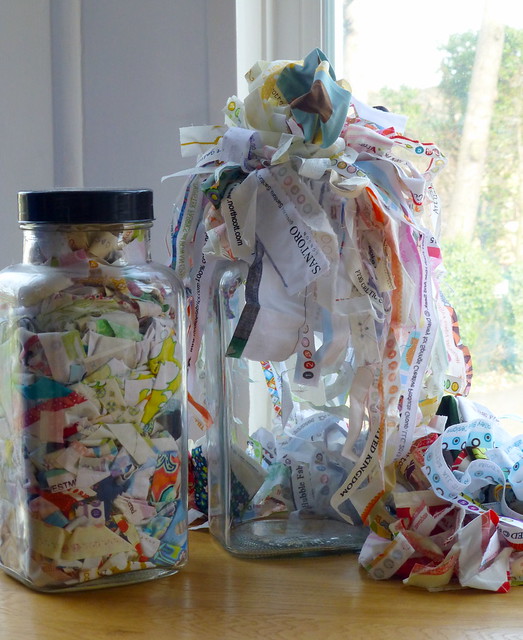
I had a little sort through my selvedges the other day.  These are my selvedge jars AFTER I have sorted through them and eliminated those I can't use!!

Sorting Selvedges!

As you can see, it's quite a squeeze!!  I hope I get some play-time soon with these lovelies.

And speaking of lovelies, have a look at these!

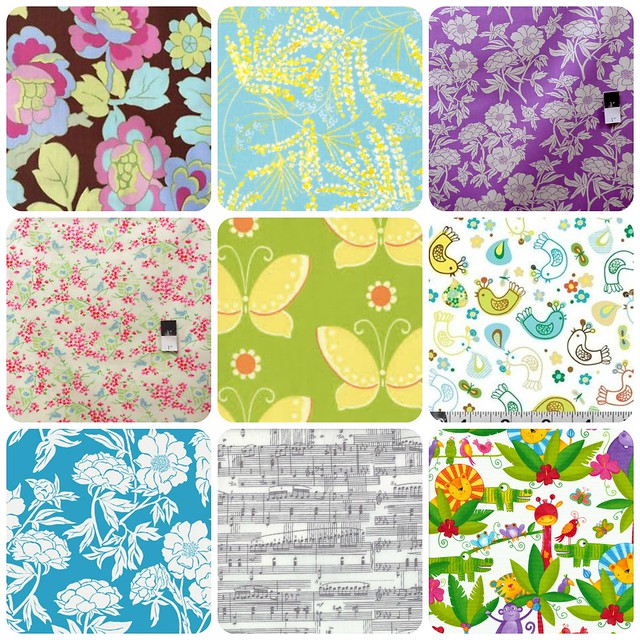
Discounted Fabrics in my Etsy shop

These fabrics (& more) are now listed in my Etsy shop at silly prices!  Designers like Amy Butler, Valori Wells, Tanya Whelan, starting at £4 per metre.

So if you want to bag a bargain, be quick as stock is limited.

Happy shopping!

Jude xo