March is going to be table runner month for my classes (also called table toppers).
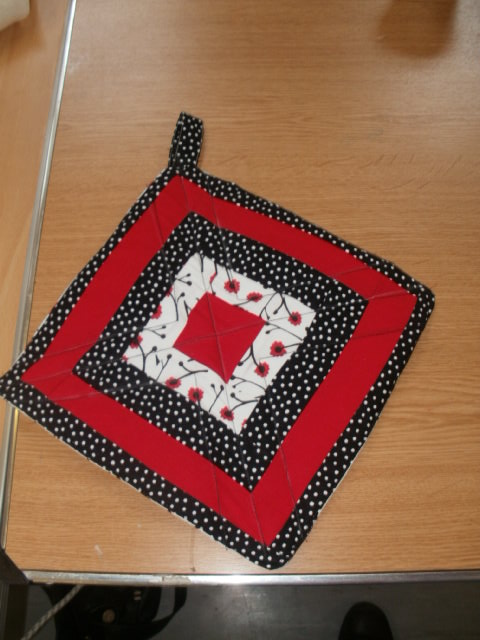
I've had a jelly roll sitting about my sewing room for some months now, thinking I'd 'save' it for a quilt one day (that day never arrived!). I finally plucked up the courage to pull the ribbon and unfold the roll. Only fellow quilters will understand the sheer delight of experiencing jelly rolls! The revelation of colours and patterns, all coordinated, demanding to be created into a feast for the eyes (not to mention pre-cut strips - yeah!).
Anyway, I decided to create an easy table topper using some of my jelly roll. This pattern is really easy and will be suitable for all abilities. I took my lead from the table runner tutorial posted on Diary of a Quilter which shows you how to use up lengths of scraps.
I still have loads of strips left over (although only half a purple strip left as the binding used up most of those). My daughter thinks the prints are very funky so I might make her something with the leftovers.
Saturday, 12 February 2011
Friday, 11 February 2011
40 Shades of Green!
A good friend of mine was celebrating her big 40 this month and was throwing a '40 shades of green' themed party. Sadly I was unable to attend the party so thought I'd make Angie something that contributed towards her creative theme.
I foundation pieced 40 different green fabric scraps onto a free hand drawn template, bondawebbed them down onto a plain background and then satin stitch appliqued them on. I was delighted with the result and even more so that Angie loved it too!
Happy birthday girl! Life begins at 40!
The birthday girl! |
I foundation pieced 40 different green fabric scraps onto a free hand drawn template, bondawebbed them down onto a plain background and then satin stitch appliqued them on. I was delighted with the result and even more so that Angie loved it too!
Happy birthday girl! Life begins at 40!
Thursday, 10 February 2011
Classes Update - Well done everyone!
Both my classes have just finished their first projects. They all did really well and I hope they are as proud of their achievements as I am!
Thursday evening class: Project - Floor cushion
Well done girls! I hope to post a few more pics of those who were finishing theirs off at home.
Friday Morning Class: Project - Log Cabin Cushion & pot holder
Isn't it wonderful how a change of fabric can transform & individualise items. Well done girls! I hope you enjoy your new creations. And don't forget to show them off!
Thursday evening class: Project - Floor cushion
![]() |
Working hard! |
![]() |
Oh the concentration! |
![]() |
Always time for a smile! |
![]() |
Gorgeous! |
![]() |
Classey! |
![]() |
See more of this one at Sew Me |
![]() |
Stunning! |
Patricia's Vintage Chic! |
![]() |
Marion was so chuffed about putting a zip in her cushion, we are going to call her 'Zippy' from now on! |
Friday Morning Class: Project - Log Cabin Cushion & pot holder
Golden Glory! |
Recycled Chic! |
A Denis & Dan delight! |
Funky Caterpillar Pot Holder! |
Beautiful blues! |
Stunning red & black pot holder |
Calming green! |
Elegant lilac & yellow! |
Wednesday, 9 February 2011
Eye Spy!
I love the concept of 'Eye Spy' quilts for children (& adults!). I have this dreamy fantasy of sitting with a little one on my knee, playing 'eye spy' while finding the different pictures in the quilt lovingly draped over the 2 of us!
Examples of Eye Spy Quilts from the web |
About a year ago I started keeping my eye out for any fabrics that had a picture on it, from leaves & flowers to instruments & animals. My box is starting to overflow now so I've started fussy cutting some of what I've collected into 2.5" and 4" squares.
No idea yet how this thing will evolve, needless to say as my 'baby' will be 10 years old this year, it will probably be ready for the first grandchild, which better not be within the next 10 years!
Sunday, 23 January 2011
Baskets & Doorstops
I've been asked to take a few more classes at Oasis Caring in Action Centre this year. I spent an amazing 12 months with these wonderful ladies last year, and got so much satisfaction from helping women from the local community learn new sewing skills and get excited about their very own makes.
This time around, we want to encourage some of the ladies to grow in confidence and become facilitators/tutors of future Quilting classes in Oasis. We'll be getting the ladies inspired to have an Easter sale of the items they make to help raise further funds for the Quilting Project, and will be doing some old favourites - log cabin cushions & Amy Butler Swing Bags, as well as some new cutsie projects - check out the baskets and doorstop ideas below.
There are various tutorials available for the smallest sized basket. Check out Pink Penguin and Vlijtig for fabric basket tutorials.
I sized up the measurements for a medium sized basket and a large basket (not shown), which was a bit tricky (not being a mathematical whizz!) but I got there in the end.
These little hostess boxes are a quick and easy make, although you do need to be spot on with your measuring and cutting for these. Check out Sew Mama Sew for a great wee tut.
Door stops need to be sturdy, so I recycled my denim scraps to make this small pyramid shaped one. The tut for this one is found on Bake and Sew. It's another simple project, and as it doesn't involve zippers or fiddly velcro, I'm sure the ladies at Oasis will have fun making these. It may be small, but it still took almost 1kg of dried peas to fill it! Small but effective!
Esther's pressie!
My friend's daughter turns 9 at the end of this month. She lives in England so when I make her presents they always have to be things that are easily posted. This year I decided to make her a pencil case, after my success with making them for my own daughters.
Teamed up with cutsie bunnies and characters (& a few secret sweeties hidden inside!) I hope she'll enjoy these 'little girl' treats. Happy birthday Esther!
Thursday, 6 January 2011
Pincushion Pleasure!
Sometimes a girl just wants to indulge herself with a glam wee make that sits on her table and makes her smile! At least that's what I get when I look at my newly crafted pin cushions, made from recycled fabric - as sweet as pumpkin pie!
I've been meaning to 'upgrade' my shabby old pincushion for a while (I made it when I was pregnant with my first daughter - she's 15 now!). I find that I need different size pins depending on the project I'm working on so I made a larger one for my long, flower headed pins, and a smaller one for smaller pins.
They are simply made by sewing together 2 circles of fabric, leaving a 1" gap for turning. Turn right side out and stuff with toy stuffing, chopped up bits of left over wadding, or even old tights (washed of course!). Hand sew the gap closed. Using embroidery floss and a long needle sew from the centre outwards, creating the 'pumpkin' like segments. Finish off with a cute little button in the middle.
For similar tutorials, checkout Thecraftbegins and Stitchinmission.
Made from a pillowcase! |
Made from a child's jacket! |
I've been meaning to 'upgrade' my shabby old pincushion for a while (I made it when I was pregnant with my first daughter - she's 15 now!). I find that I need different size pins depending on the project I'm working on so I made a larger one for my long, flower headed pins, and a smaller one for smaller pins.
They are simply made by sewing together 2 circles of fabric, leaving a 1" gap for turning. Turn right side out and stuff with toy stuffing, chopped up bits of left over wadding, or even old tights (washed of course!). Hand sew the gap closed. Using embroidery floss and a long needle sew from the centre outwards, creating the 'pumpkin' like segments. Finish off with a cute little button in the middle.
For similar tutorials, checkout Thecraftbegins and Stitchinmission.
Subscribe to:
Posts (Atom)