Happy St. Patrick's Day!
Ready for another Easter Tutorial?
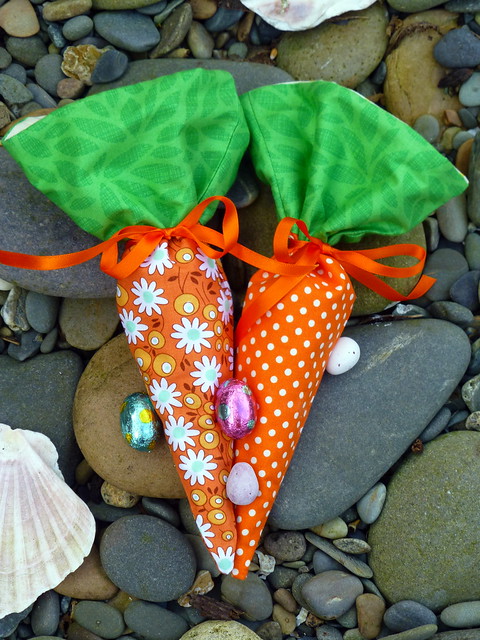
Today we are making Carrot Cornets!
Aren't they cute, and perfect for little chocolate eggs (& fingers!).
Here's what you need for 1 cornet:
Outer:
2 x (6.5" wide by 8" tall) orange fabric
2 x (6.5" wide by 3.5" tall) green fabric
Lining:
2 x (6.5" wide by 10.5" tall)
Ribbon:
1 x (0.25" wide by 18")
Assume 1/4" seams
1. Join the green tops to each piece of orange fabric. Press the seams open.
2. Sew the mid-way point of the ribbon to the centre of the seam.
3. Keeping the ribbon out of the way, trim the sides at an angle, from the top corners to the centre of the bottom edge. Do this to both outer pieces and the 2 lining pieces.
4. Place both outer pieces right sides together and sew down both sides (use a reverse stitch at the start and finish).
5. Carefully trim the bulk out of the point before turning right sides out and press.
6. Sew the 2 lining pieces right sides together (same as for the outer) leaving a 2" gap in one side, near to the top. Do not turn right sides out.
7. Pop the outer cornet inside the lining so that right sides are together. Line up the side seams, pin and sew around the top edge.
8. Pull the outer cornet through the gap in the lining. Hand or machine stitch the gap closed. Push the lining down inside the cornet, and press well around the top edge.
Stuff full of mini treats and tie closed with the ribbon!
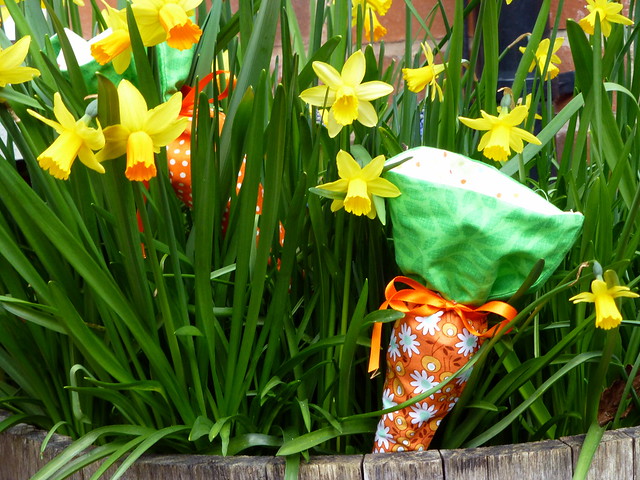
Wouldn't these be great fun to discover in the garden at an 'Easter Egg Hunt'!
Wishing you lots of carrot fun!
And if you missed previous tutorials in my Easter series here are the links:
Easter Bunny Bags
Easter Bibs
Happy carrots!
Jude xo


I love these. They are going to be my Saturday sewing project so I have some to take into school next week. x
ReplyDeleteI'm going to keep an eye out for these growing in my garden this year!
ReplyDeleteThat is a very cool idea
ReplyDeleteThese are beyond adorable and they would hold the perfect amount of chocolate for a little (or not so little!) person xx
ReplyDeleteAbsolutely gorgeous I'm sure little bunnies would love those! X
ReplyDeleteI couldn't find your tutorial on How to use up all your scraps of material. Can you send it to me? Thanks.
ReplyDeleteRosemary
I just found this site and I am in love 😍. Thank you for the wonderful tutorials. Please keep them coming. So many of us are visuals and you are a blessing. I now have new plans for the weekend!
ReplyDeleteสล็อต 777
ReplyDeleteด้วยกฎกติกา รูปแบบการเล่นเกมสล็อตออนไลน์นั้นเล่นง่าย สามารถเล่นได้ทุกเพศ ทุกวัย เหมาะสำหรับผู้ใช้ทั้งรายเก่าและรายใหม่ สามารถพกพาความสนุกติดตามไปได้ทุกที่ ไม่ว่าจะอยู่ที่ไหน